Tag Archives: coop design

Day 13 – Chicken House Challenges Part 3

Meanwhile, inside the hen house, the girls were completely confused about where to sleep.

"You mean I'm supposed to jump up there?"

“You mean I’m supposed to jump up there?”

The first night, in fact, the girls couldn’t figure out how to walk back up the ramp, so they all piled up right at the bottom of the ramp, outside. By the second day they had figured that part out, but judging by the amount of hen manure in the nesting boxes and completely lack of bodies on the perches when I peeked in during the night, the girls hadn’t figured out that perches are for perching.

The next day, several of the hens had sorted out the perch situation, but nobody had laid an egg inside the nesting boxes, Instead, they are using the two back corners of the main area of the hen house. The next modification we’ll make is to add a low board across the bottom of the open side of the nest boxes. This will (I hope) accomplish two things: a) they won’t be able to shovel quite so much litter into the nest boxes when they are digging around in the shavings and b) they will feel more secluded, contained, and secure if they are behind more of a barrier.

Stay tuned…Interested in learning who else is participating in the 30 days agriculture blog-a-thon or the five things Holly Spangler will be talking about this month? Head over to Prairie Farmer to find out!

Here's a shot from the stage when we were gluing down the roofing felt on the nest box roof. The plywood is over the top of the roofing to evenly distribute the weight of the heavy objects placed on top.

Here’s a shot from the stage when we were gluing down the roofing felt on the nest box roof. The plywood is over the top of the roofing to evenly distribute the weight of the heavy objects placed on top.

Day 11 -Chicken House Challenges – Part Two

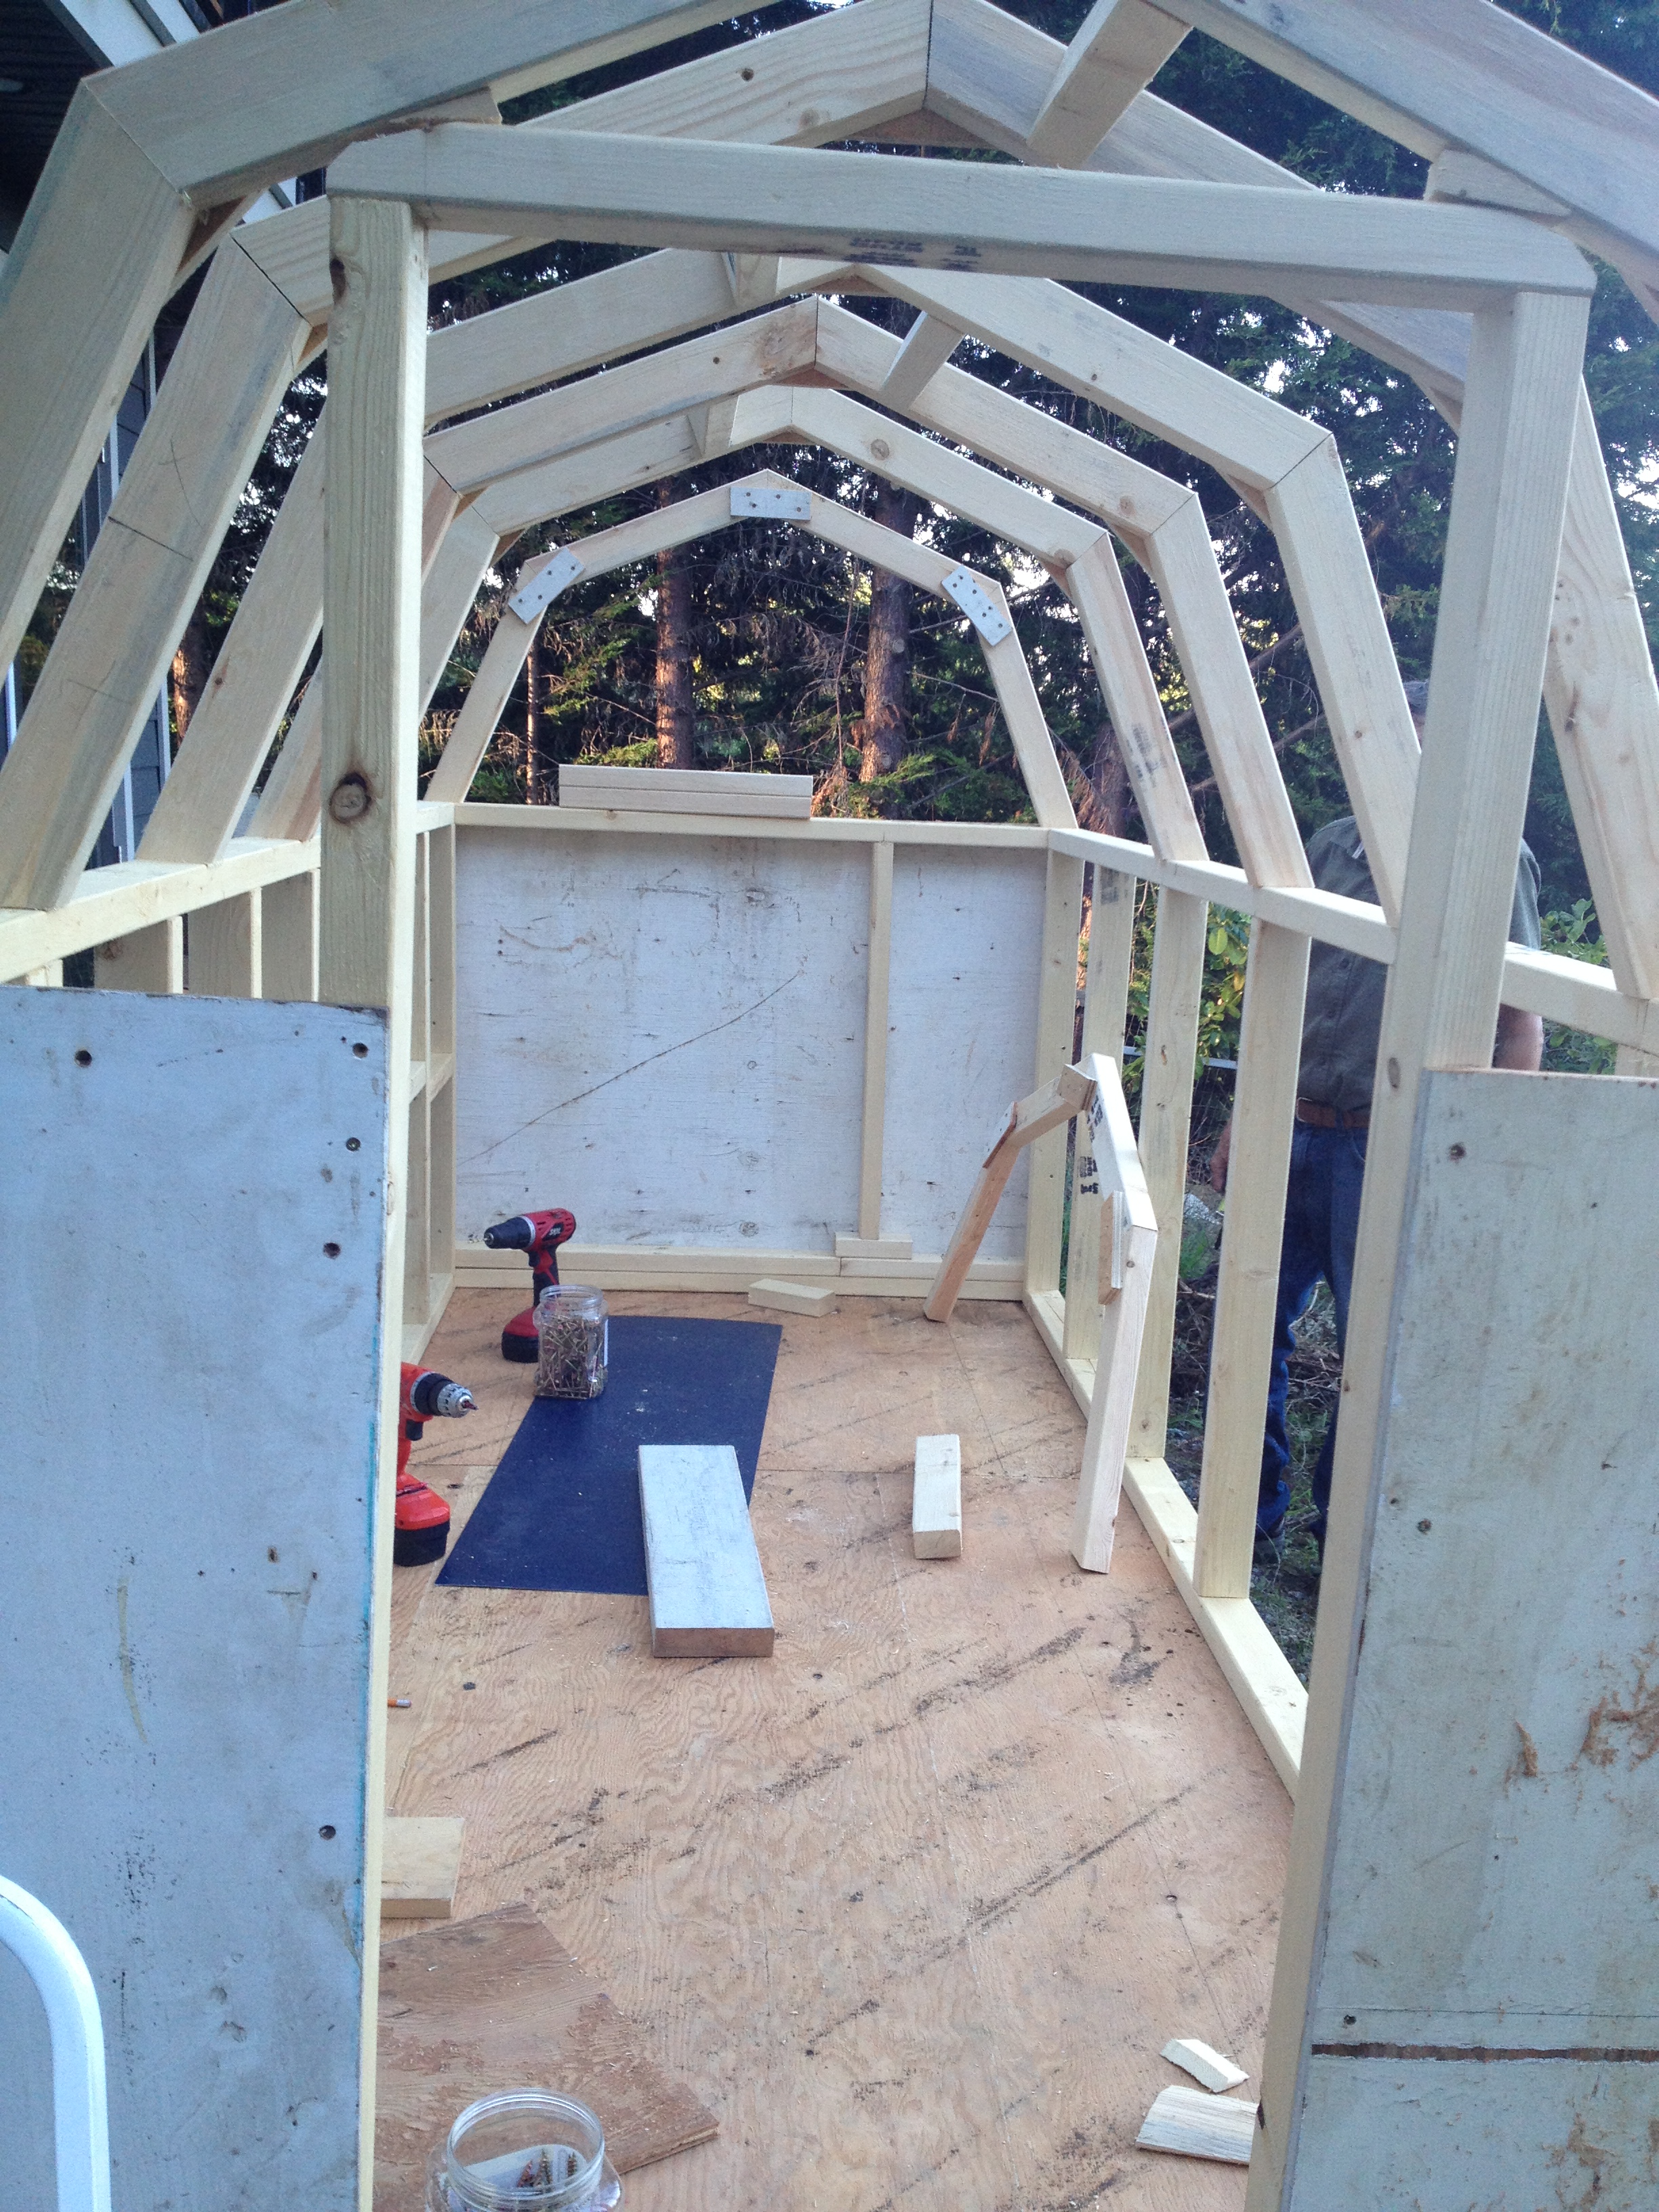
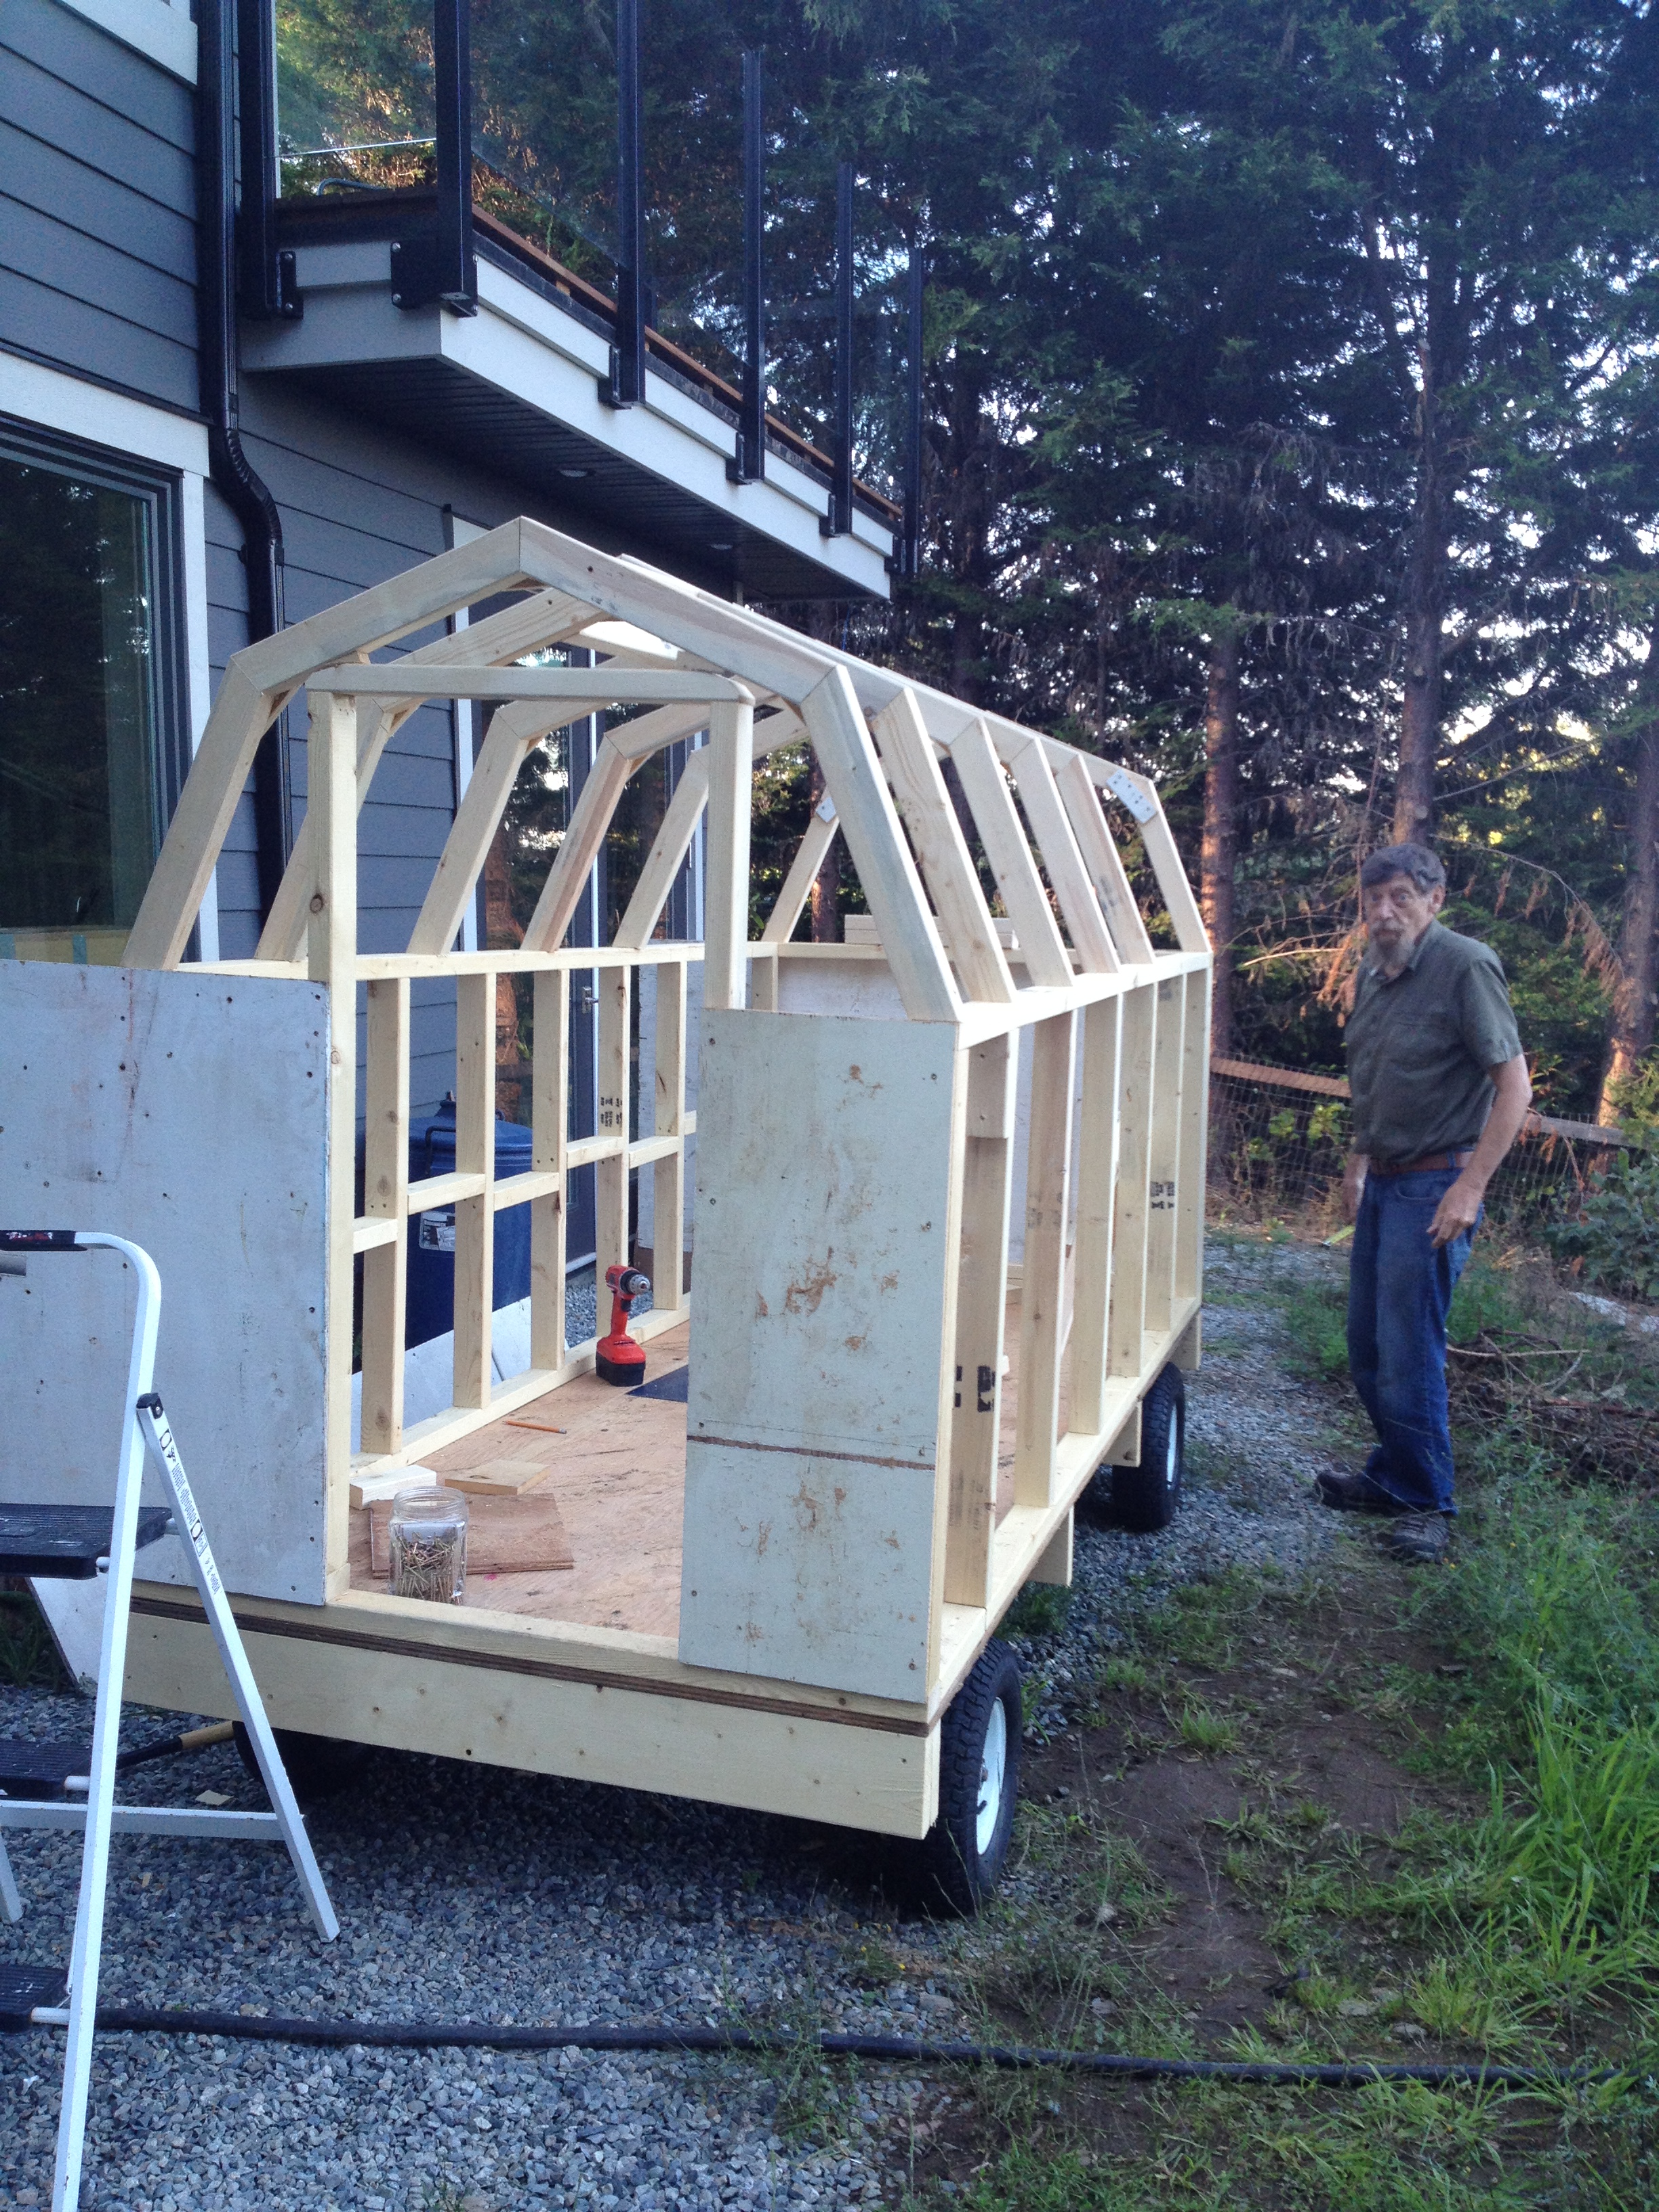
Well, that was frustrating yesterday! Just as I was getting on a roll, the blogging interface ceased to function properly and I couldn’t add images or text below the bottom picture! Not that a description of chicken house building is so compelling that stopping where I did counts as a cliff hanger, but if you are someone who likes to complete one thought before moving on to the next, sorry about that.

Sticky black goop to glue down the roof and seal everything... Roofing was also nailed down.

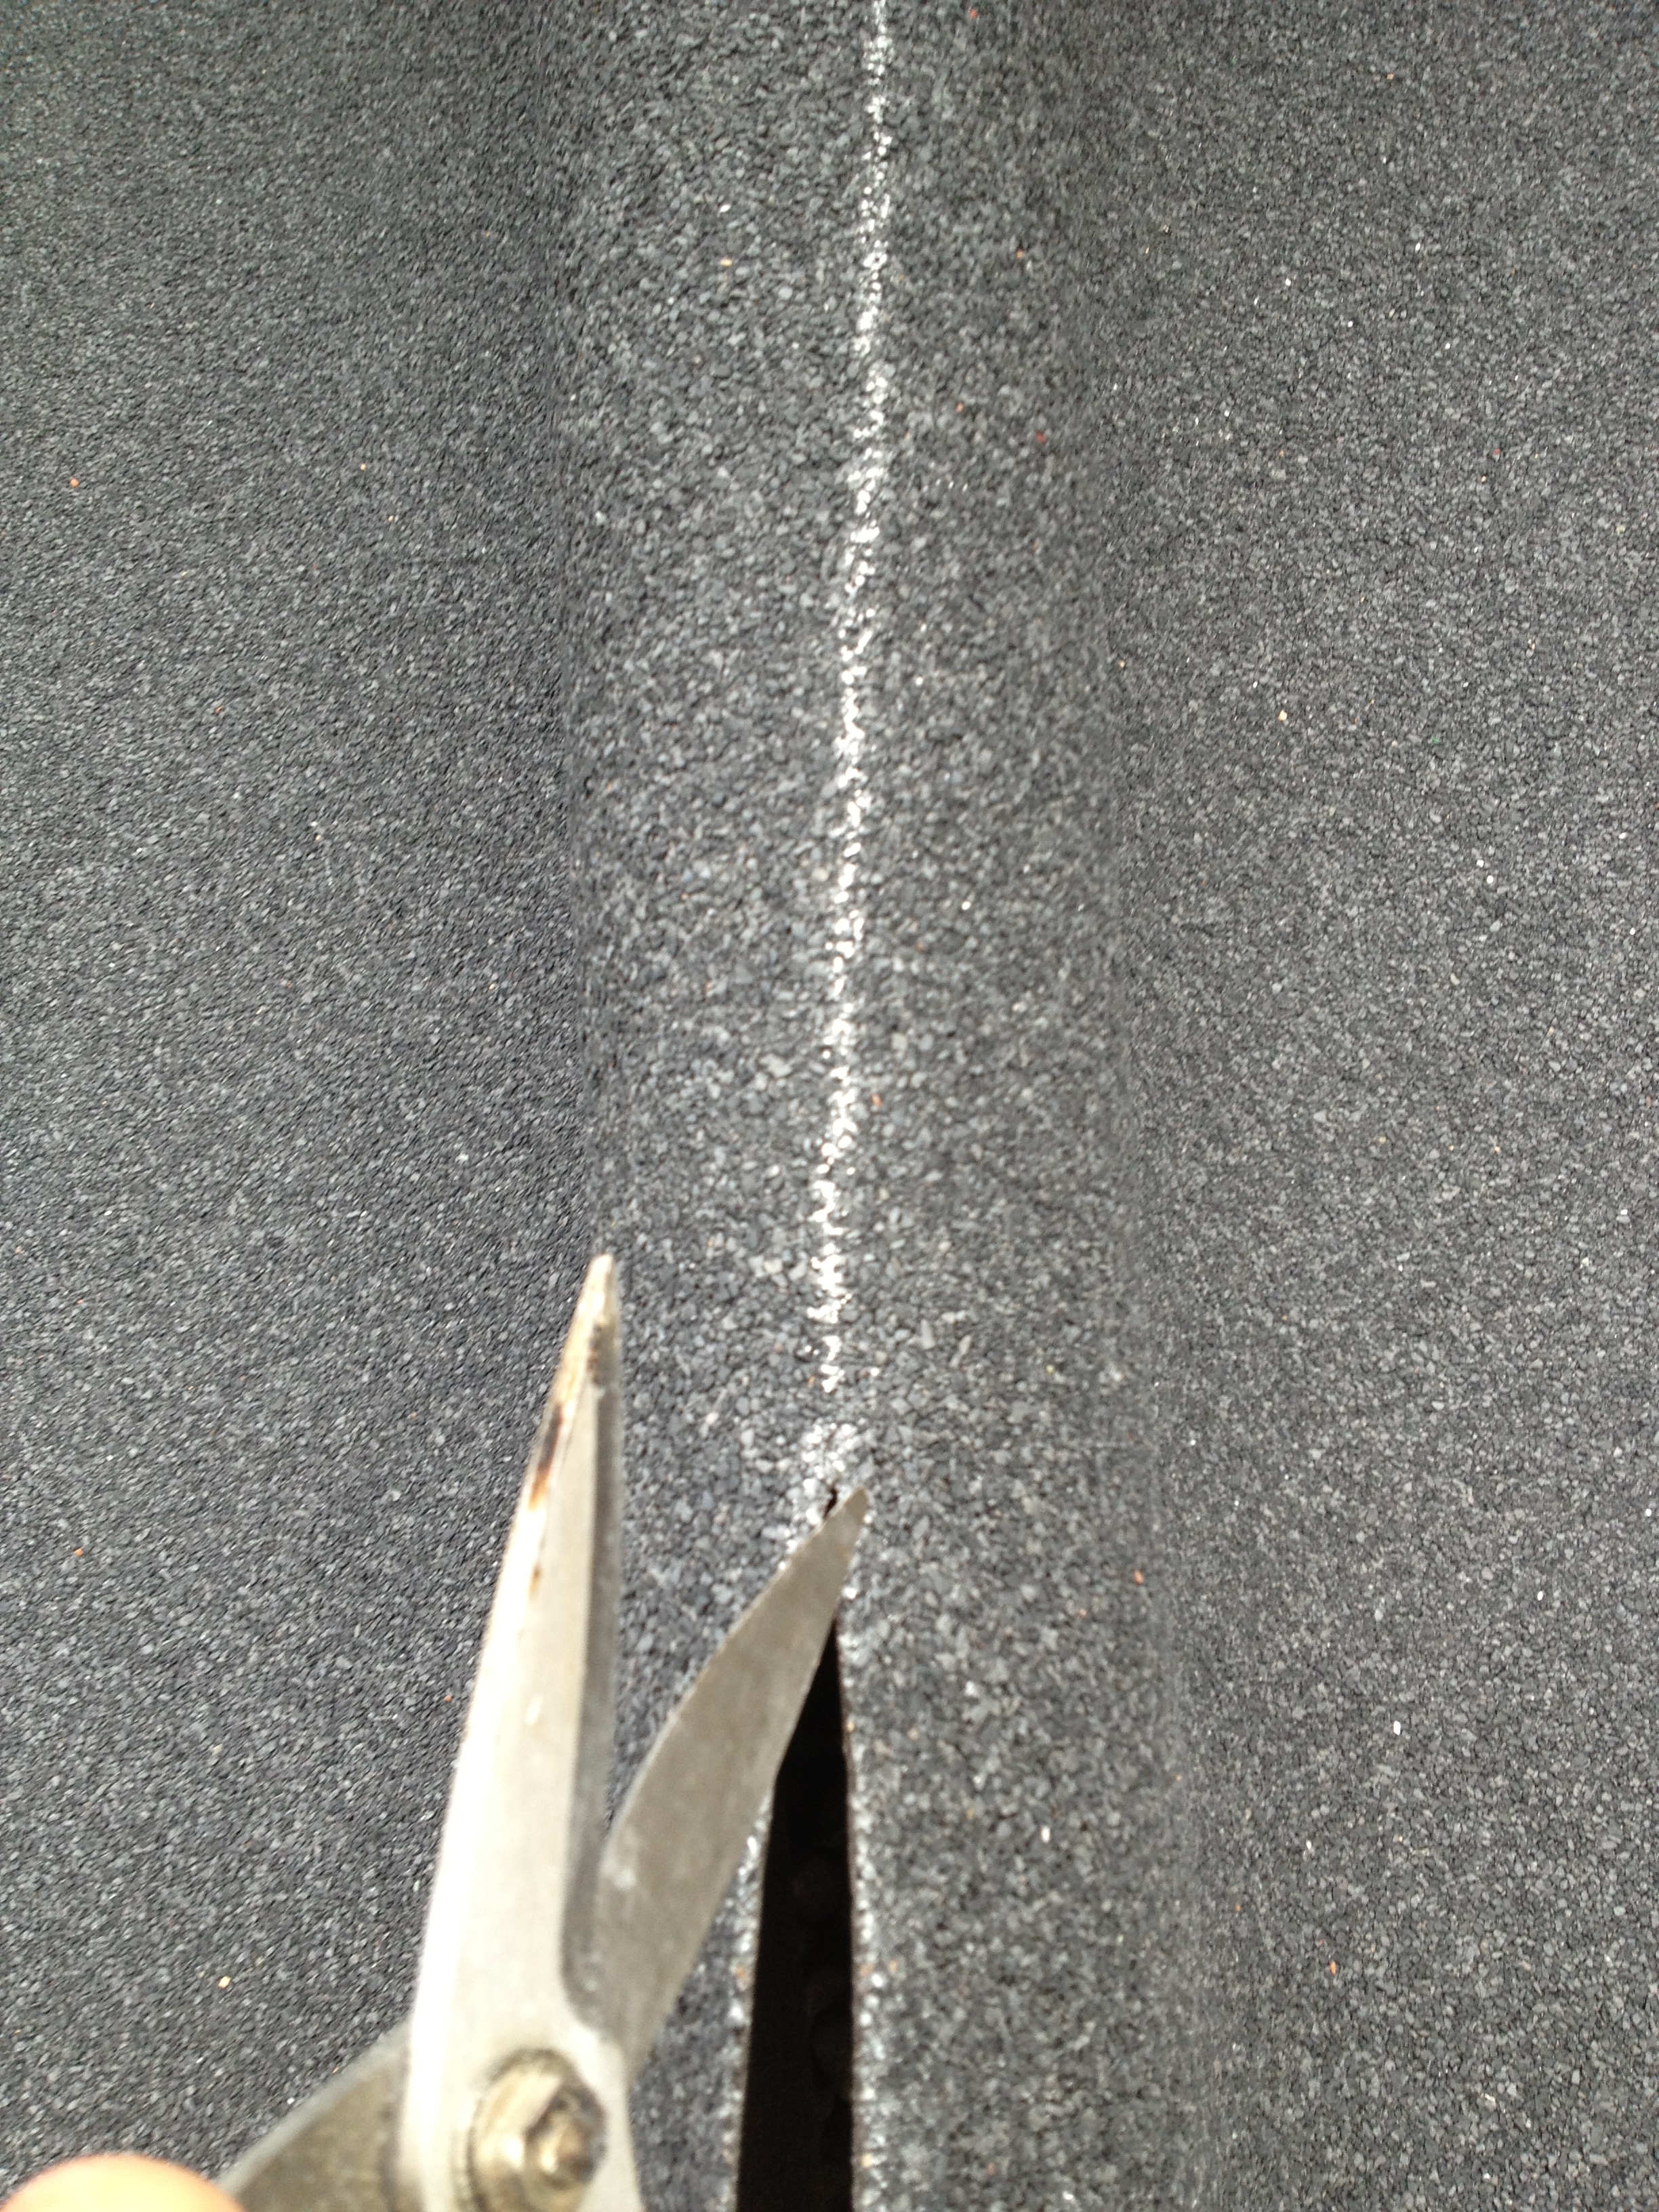
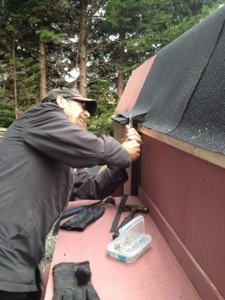
Sticky black goop to glue down the roof and seal everything… Roofing was also nailed down.

We were really, really careful to use lots of sticky black roofing goop (for some reason, as I did this, I kept thinking of Brer Rabbit and his tar and feathering incident) but even so, after everything was assembled and sealed (so we thought) we had a couple of leaks.

IMG_6764[1]In the next photo, you can see how we should have made the main/upper roof overhang a bit wider on the nesting box side of the building. Though we had also ‘roofed’ the nest boxes, the water dripped off the upper roof and enough collected in the seam between the exterior wall and the nest box top that a bit seeped inside. It wasn’t exactly a flood, but even a bit of water soaking into bedding would lead to mould and other nastiness down the road. At first we tried to caulk the crack with a silicone bead, but in the heavy rains, it just washed right out. We had to scrape out the ineffective goop and use a super-sealant that works to seal cracks even when wet. This did the trick and the interior is now staying bone dry.

Here's a view of the nesting box side with the ramp up.

Here’s a view of the nesting box side with the ramp up.

We thought we were being very clever to have the hens exit through a different door to the humans. This would mean they could carry on with their business while the human carried on with hers (human door is large and at the end of the building). The only problem was, by situating the hen ramp between the two nesting boxes, we created a bit of a design nightmare when it came to figuring out how to make a sort of chute for them to use when the ramp was down so they could get in and out of their protected run. Keep in mind we needed everything to be lightweight and movable.

Ramp down but no chute in place

Ramp down but no chute in place

Ramp down with chute - solid sides but no top on yet

Ramp down with chute – solid sides but no top on yet

After we had built a solid-sided chute, we realized we couldn’t fasten on a top of any kind because then one wouldn’t be able to lift the ramp up and down when the chute was in place. So the next step was to come up with a cap of some sort for this whole fancy system.

For this part, we built a very light frame and covered it with heavy mesh.

Mesh lid in place over the ramp

Mesh lid in place over the ramp

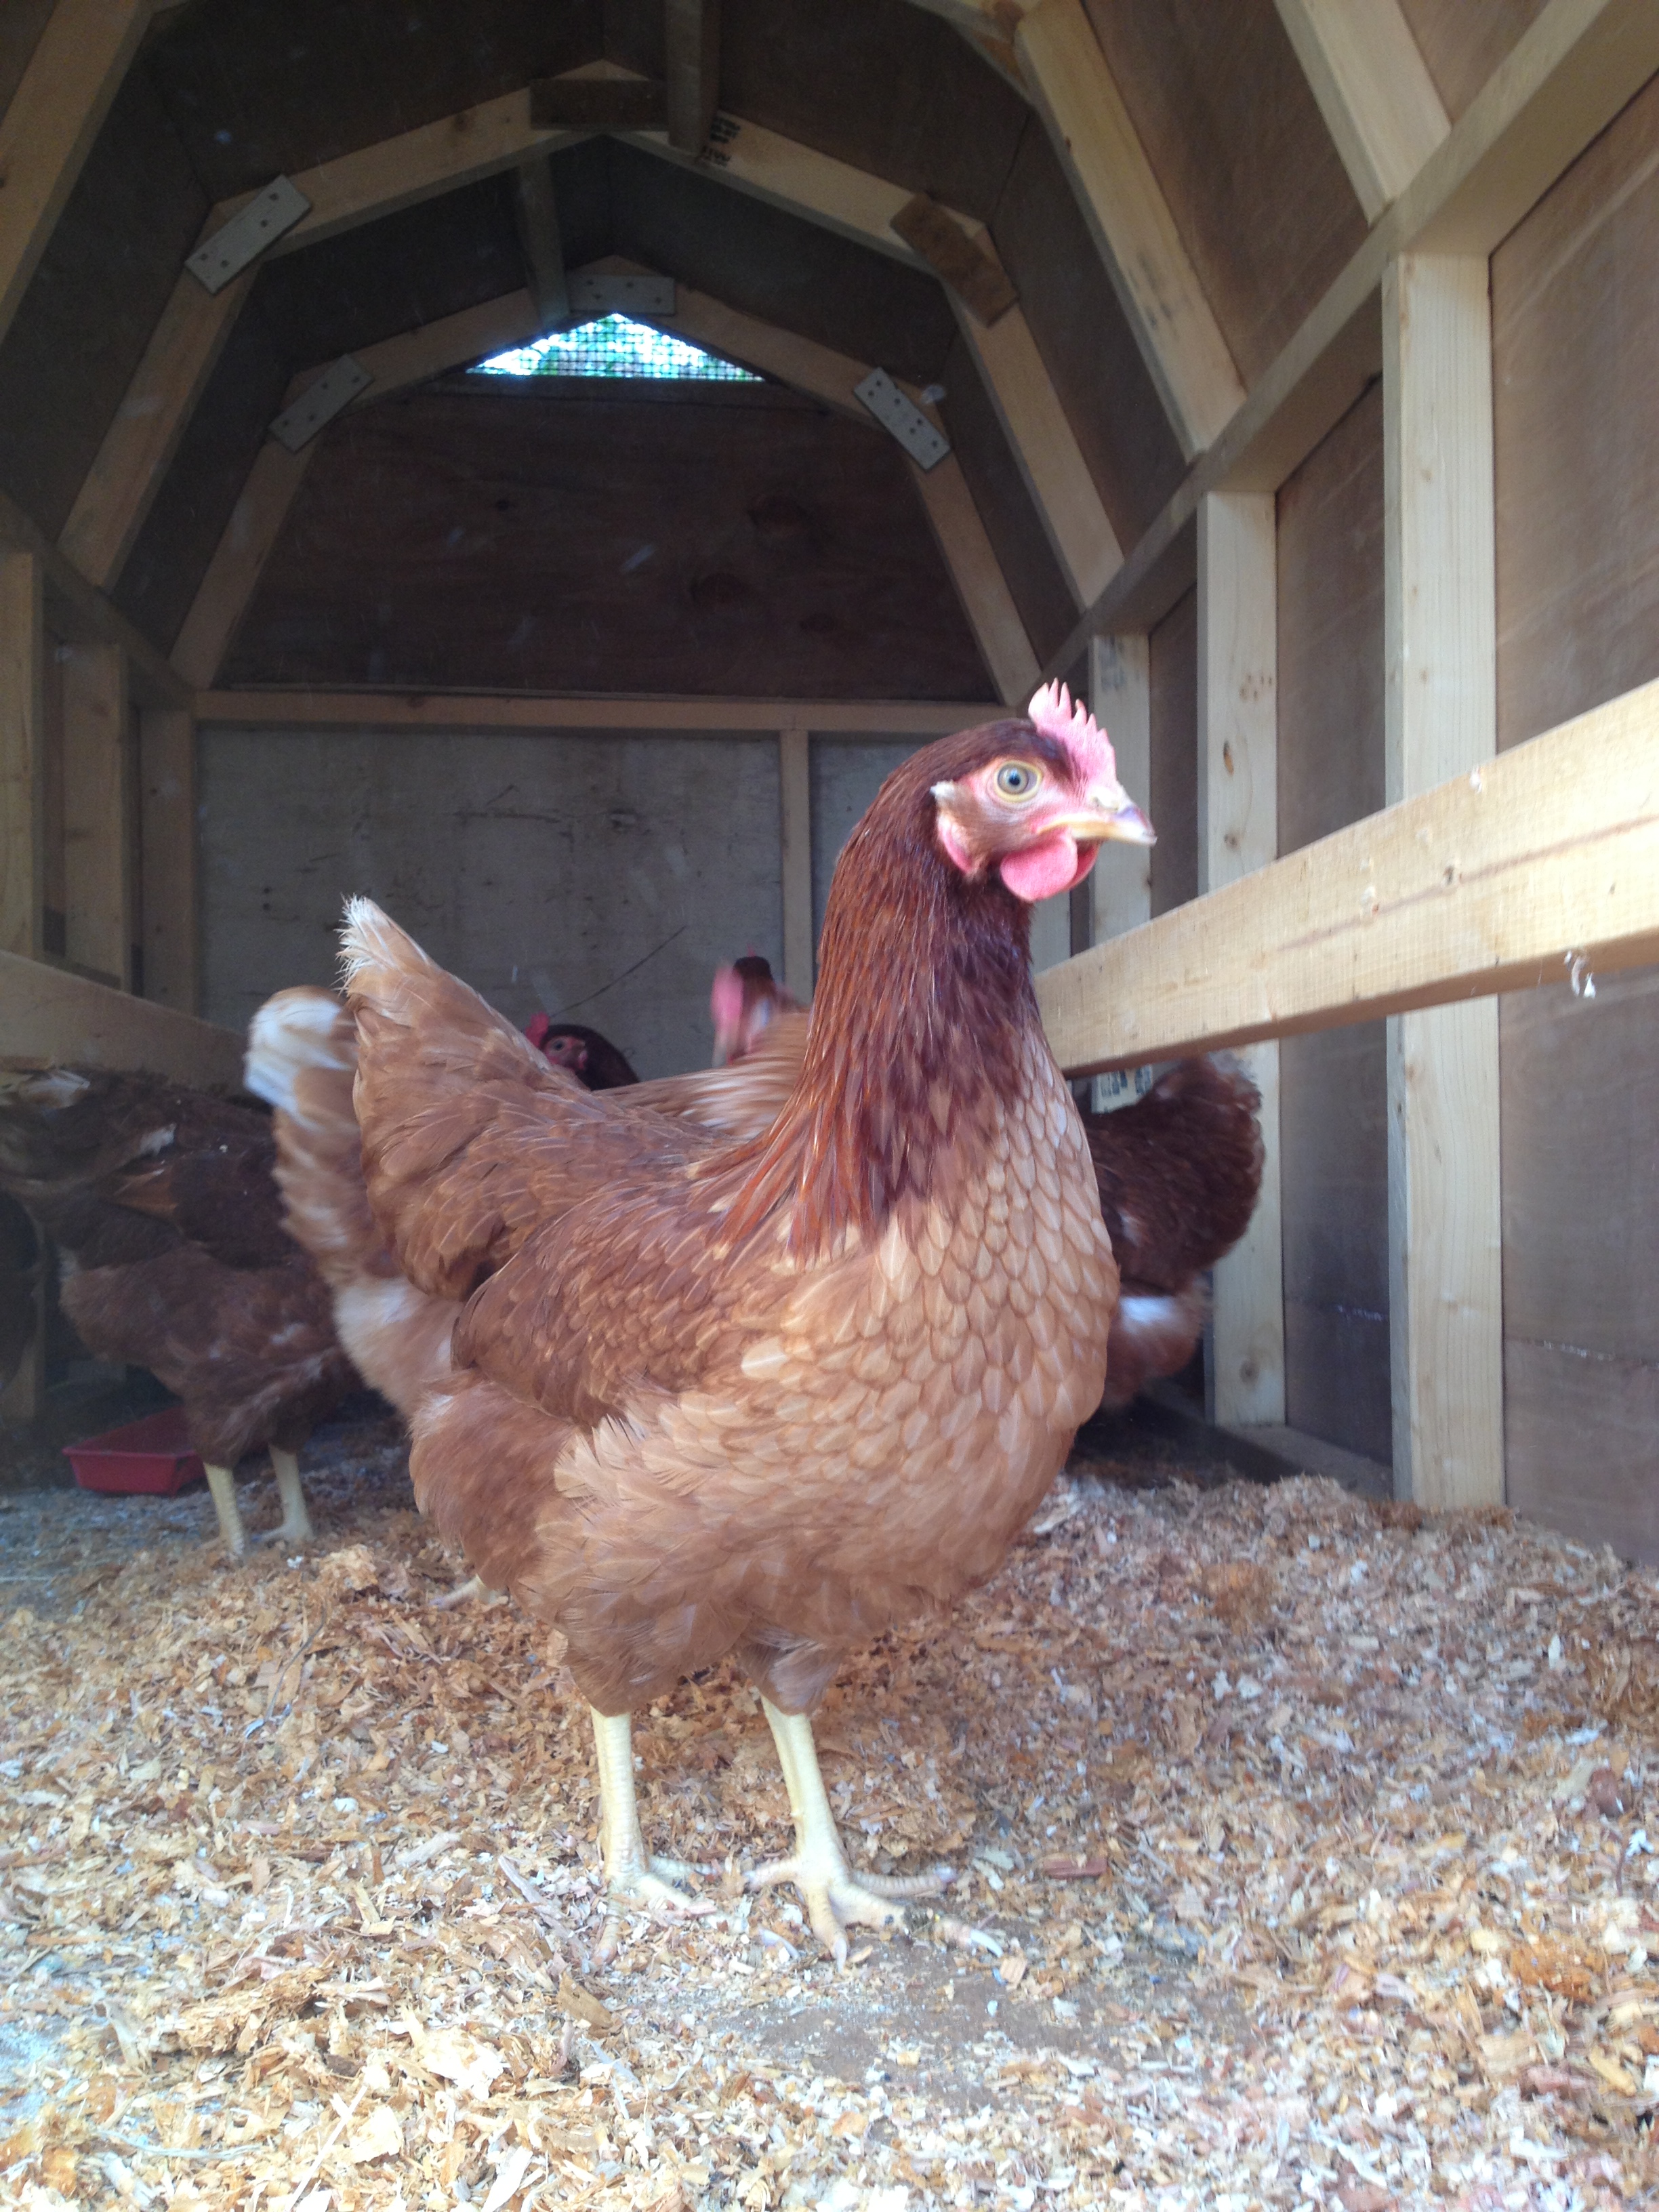
Perhaps predictably, the chickens were a bit confused when we first put them into the house. Eventually, though, they got it figured out and were running up and down the ramp with impunity.

The ramp leads to a portable pen (only part of it seen in these photos – the long, narrow run was initially meant to lead to a larger, more square area, but we are going to repurpose the long, skinny run as a vegetable bed chicken cleanout run- as in, we’ll place it over a bed to be cleaned out in the garden, put a few chickens in there for a few hours and let them do some cultivating). The system of attaching the more square run will be similar to what you can see in the photos here.

In my next post I’ll talk about some issues we’ve had with the interior design and modifications we need to make to the nesting boxes… I’m thinking that by the time we have built our twenty-seventh chicken house we might just have all the bugs worked out!

IMG_6782[1]

Here are a couple of brave girls standing at the top of the ramp considering their options.

Long, narrow run that was meant to lead into a larger turnout area... plans have changed once again.

Long, narrow run that was meant to lead into a larger turnout area… plans have changed once again.

The girls quickly got pretty good at running in and out

The girls quickly got pretty good at running in and out

Chicken house and run set up for testing on the back lawn (so it was handy for modifications). The whole set-up will be moved to a larger poultry-raising field down the road.

Chicken house and run set up for testing on the back lawn (so it was handy for modifications). The whole set-up will be moved to a larger poultry-raising field down the road.

Interested in learning who else is participating in the 30 days agriculture blog-a-thon or the five things Holly Spangler will be talking about this month? Head over to Prairie Farmer to find out!

Day 10 – Chicken House Challenges – Part One

It never ceases to amaze me how impossible it is to think of every eventuality when you are trying to plan a project. Like, say, a chicken house. How hard could it be to come up with the perfect design to meet the needs of our hens? We need the house to be movable and, for this version, we wanted the girls’s eggs to be collected away from the girls (we’ve had some recent problems with egg-eating) and, because we’ve found this to be incredibly handy in another chicken coop, collectible from outside the house. We also need the house itself to be attached to a portable pen so they have access to a fresh patch of grass every day. And all of this moving and rearranging needs to be doable by me working on my own. Oh, and the house needs to be a decent size so I can fit 36 birds or so inside without anyone feeling crowded. Because of our climate, the structure needs to be waterproof and, because of our location, it has to be raccoon-proof by night and the run has to be birds of prey proof by day.

chicken house - chassis with floor

Ease of moving was a major consideration. Our previous design (watch for a future post) is really tough for me to move on my own. I’m no spring chicken, you know…

With this list of requirements plus a few more (needed to be able to hang the feed hoppers inside, interior needed to be big enough for me to move around in and clean the place out, perches – two long ones, both the same height needed to be set higher than the openings to the nest boxes, floor of a material that can withstand some moisture and be swept clean) we did a series of sketches and make some lists and then, after a whole lot of discussion, Dad (with a bit of help from T. and me when we had a few minutes to pitch in) started to build.

Because we have had so many issues moving our current chicken house around (that one built with smaller wheels and axles we mounted ourselves to a sturdy frame) we invested in a great pre-made, adjustable chassis. What a difference! With turning wheels, a long tongue, larger wheels and a sturdy basic chassis to which we could bolt a 2 X 4 frame to support the floor, we were off to a great start.

Interested in learning who else is participating in the 30 days agriculture blog-a-thon or the five things Holly Spangler will be talking about this month? Head over to Prairie Farmer to find out!

Basic framing of walls and roof  in progress.

Basic framing of walls and roof in progress.

Another shot of the walls being framed - starting to fill in with plywood.

Another shot of the walls being framed – starting to fill in with plywood.

Plywood basically on and salmon-pink undercoat mostly done. No particular reason for the salmon colour - it was a mis-tint, good quality, and perfect for an undercoat.

Plywood basically on and salmon-pink undercoat mostly done. No particular reason for the salmon colour – it was a mis-tint, good quality, and perfect for an undercoat. And cheap… because who would actually want to paint something that colour?

Nesting boxes were built separately inside - then mounted at an angle on the outside of the hen house.

Nesting boxes were built separately inside – then mounted at an angle on the outside of the hen house.

Weather being wet here, a good roof is essential - here, cutting the roofing felt off the bit roll.
Weather being wet here, a good roof is essential – here, cutting the roofing felt off the big roll. [At this point in my blog-post writing, I can’t seem to add more photos down here at the bottom … I will do another post tomorrow with another set of images of the rest of the building.]


Where the Chicken House Experiments Began

Chicken House #1

We’re going to replace the small wheels with larger ones to make the house easier to move.

We’ve been playing around with chicken house designs for a while now. The first version was low-slung with two wheels at one end and two handles at the other. It can be moved easily by one person as long as the terrain is reasonably un-bumpy.

The whole roof is hinged and inside there’s a single perch and four nesting boxes.

The whole roof lifts open for ease of egg-collecting and cleaning.

The whole roof lifts open for ease of egg-collecting and cleaning.

We found it was the perfect size for bantams, though we have also used it when we needed to segregate a few Light Brahma hens with Bill during breeding season. This solid house has a locking door for security at night. That door opened into a wire chute, which led to one of our hoop-house design wire runs. The whole thing (house plus attached portable run) is easily moved and, for a few bantams, provides lots of protection from birds of prey (we have trouble with eagles, ravens, and hawks). They get fresh grass and safe outdoor living while being protected. But, it was really too small for full-sized chickens on a long-term basis.

So, we built a bigger chicken house and a larger attached run-out, which will be the subject of a future post.

Pippi standing beside the chicken house for scale - not that this helps if you don't know how tall she is! If you haven't met her in person, she is just a bit taller than my knees. If you haven't met me, that's not particularly tall.

Pippi standing beside the chicken house for scale – not that this helps if you don’t know how tall she is! If you haven’t met her in person, she is just a bit taller than my knees. If you haven’t met me, that’s not particularly tall. So maybe putting the dog in there wasn’t very useful at all!

Almost Done the New Chicken House!

Because we don’t have a lot of land, I rent various nearby fields so my creatures can graze and forage. This means I rely on having portable pens and shelters to keep everyone safe at night no matter where they happen to be camping.

This new chicken coop is pretty fancy! Built on a chassis we bought on sale, it can be moved by one person on level ground or hauled around by my riding mower when the terrain is a bit trickier or the distance longer. Recently, we’ve had some problems with egg eating hens, so the nesting boxes in this coop have sloped floors that lead to a covered collection trough. Dad has been busy, busy, busy working on this creation which should be ready for new residents very soon!

20131026-172233.jpg

20131026-172244.jpg

20131026-172306.jpg