Category Archives: DIY and Projects

First Batch of Big Leaf Maple Syrup!

Our first batch of Big Leaf Maple syrup is very, very tasty…
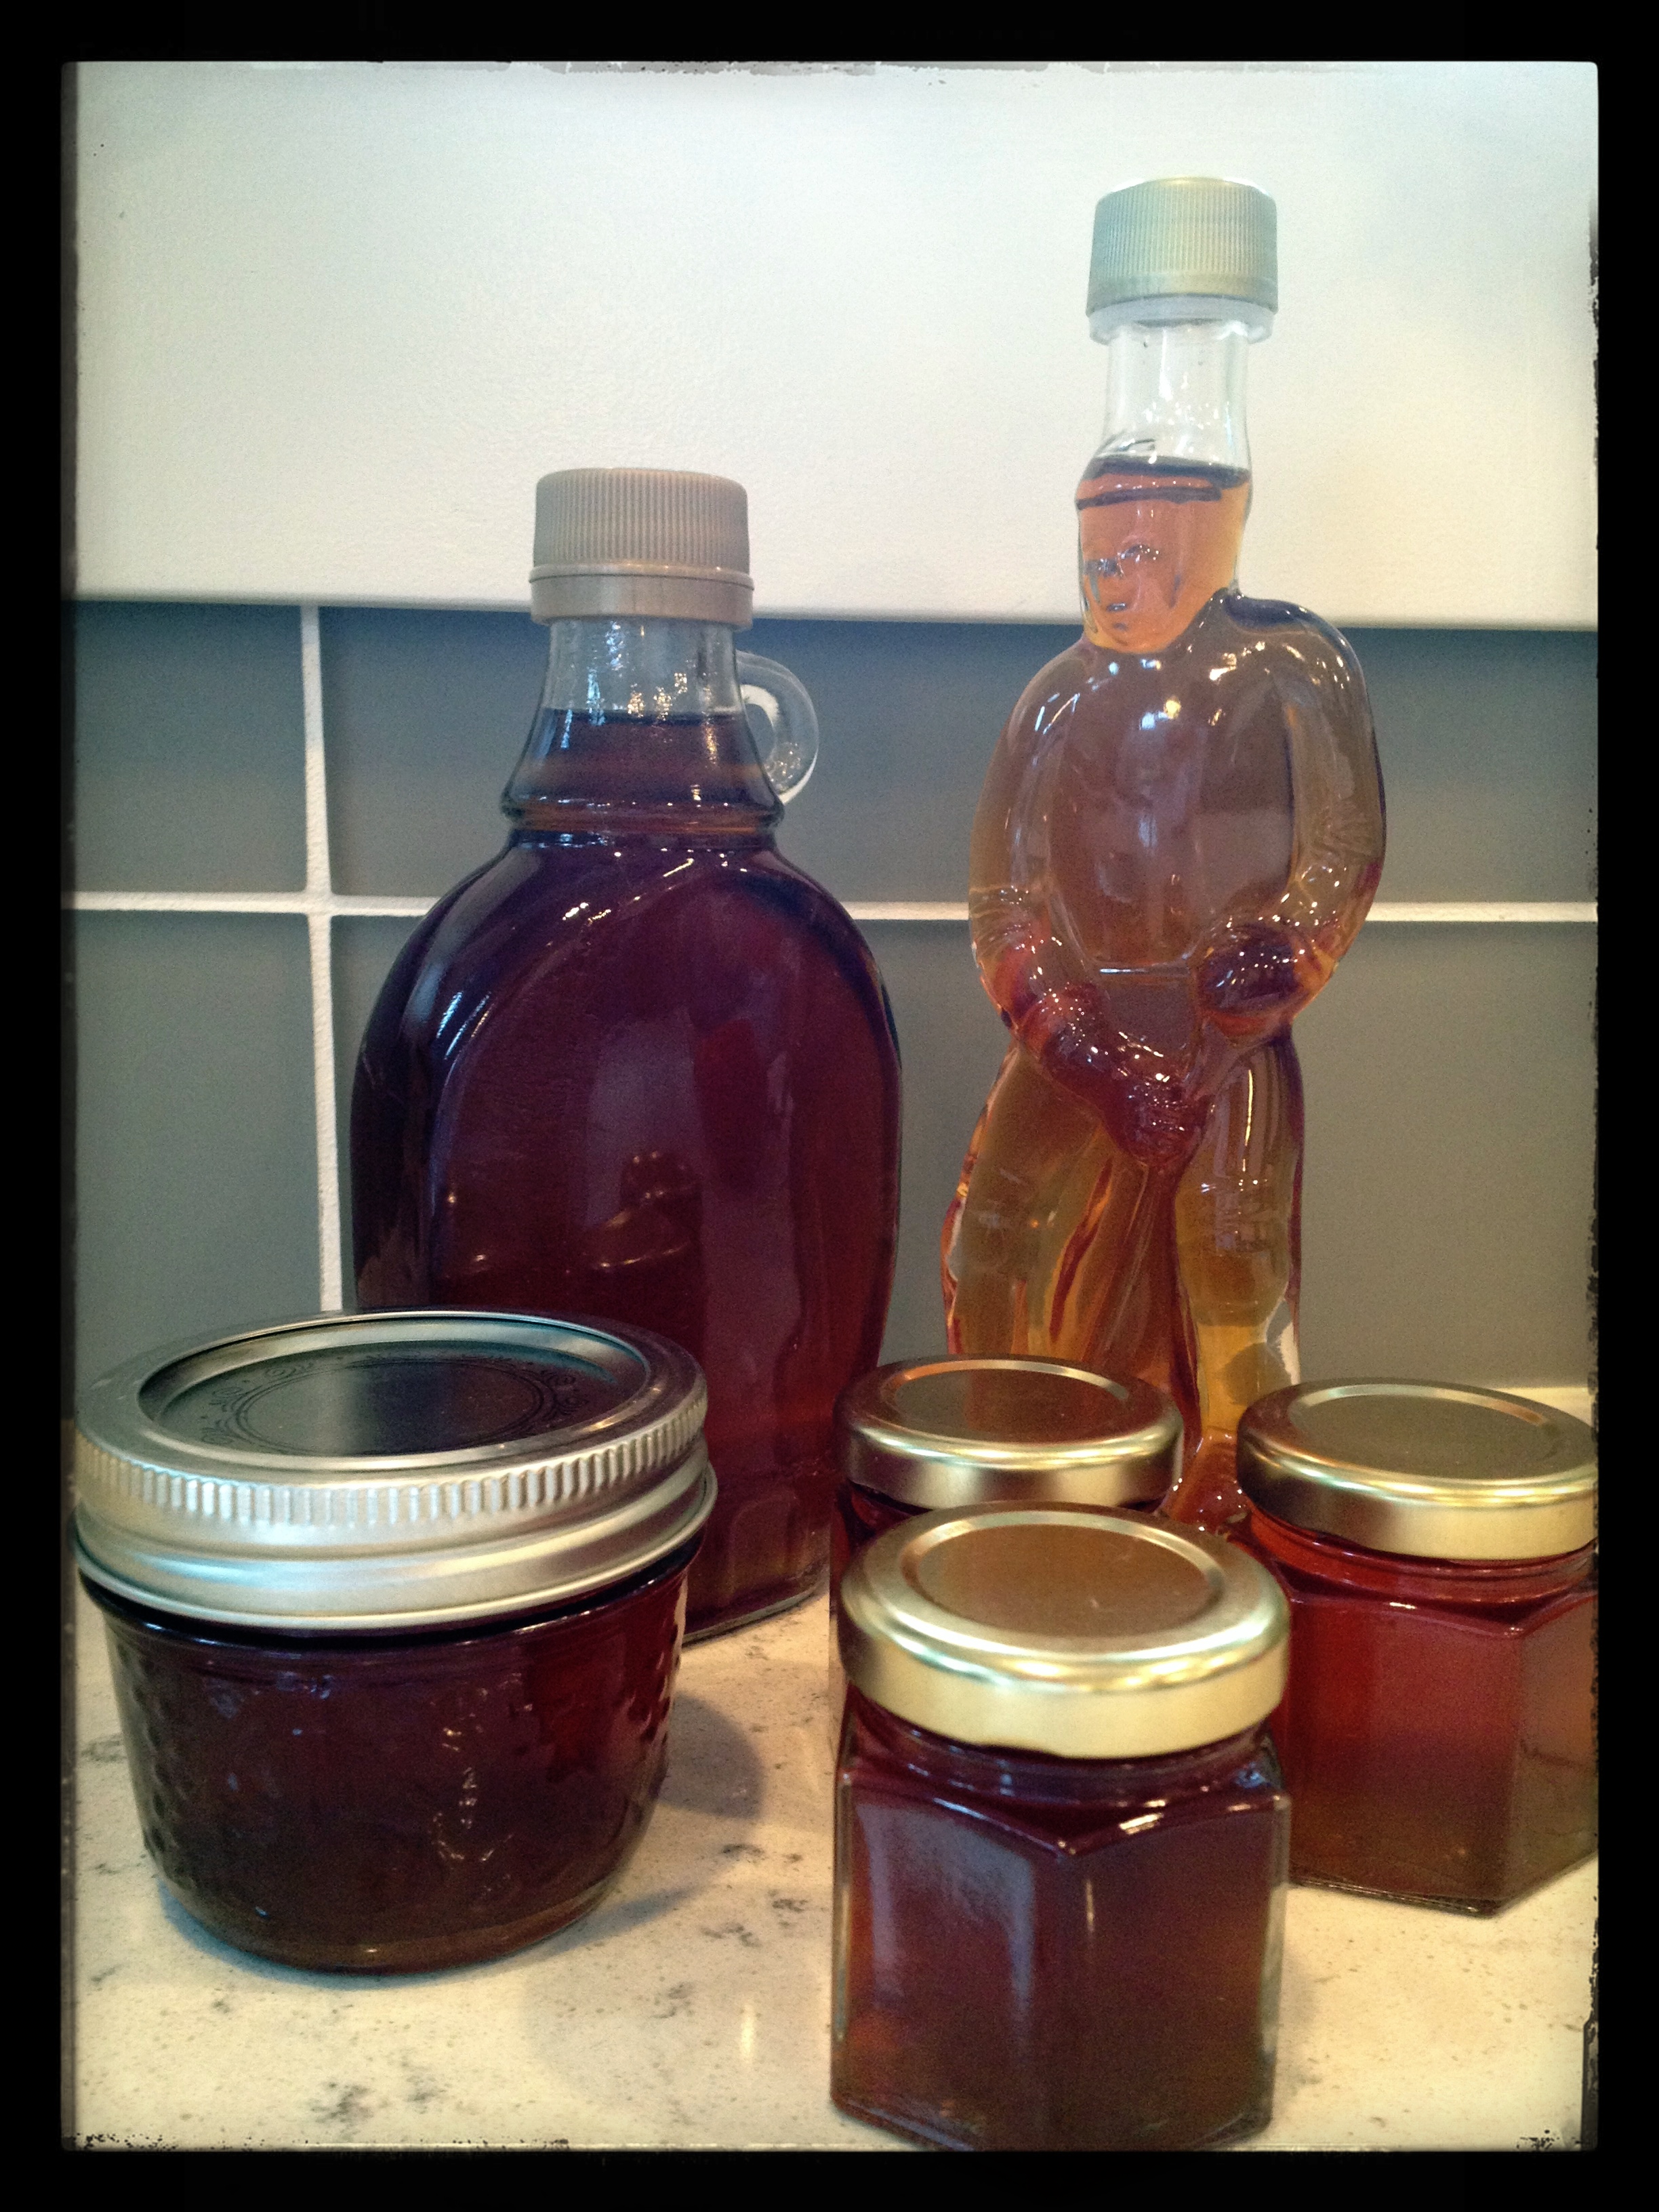
Maple Syrup!

Maple Syrup!

Some things I did not know about making maple syrup…

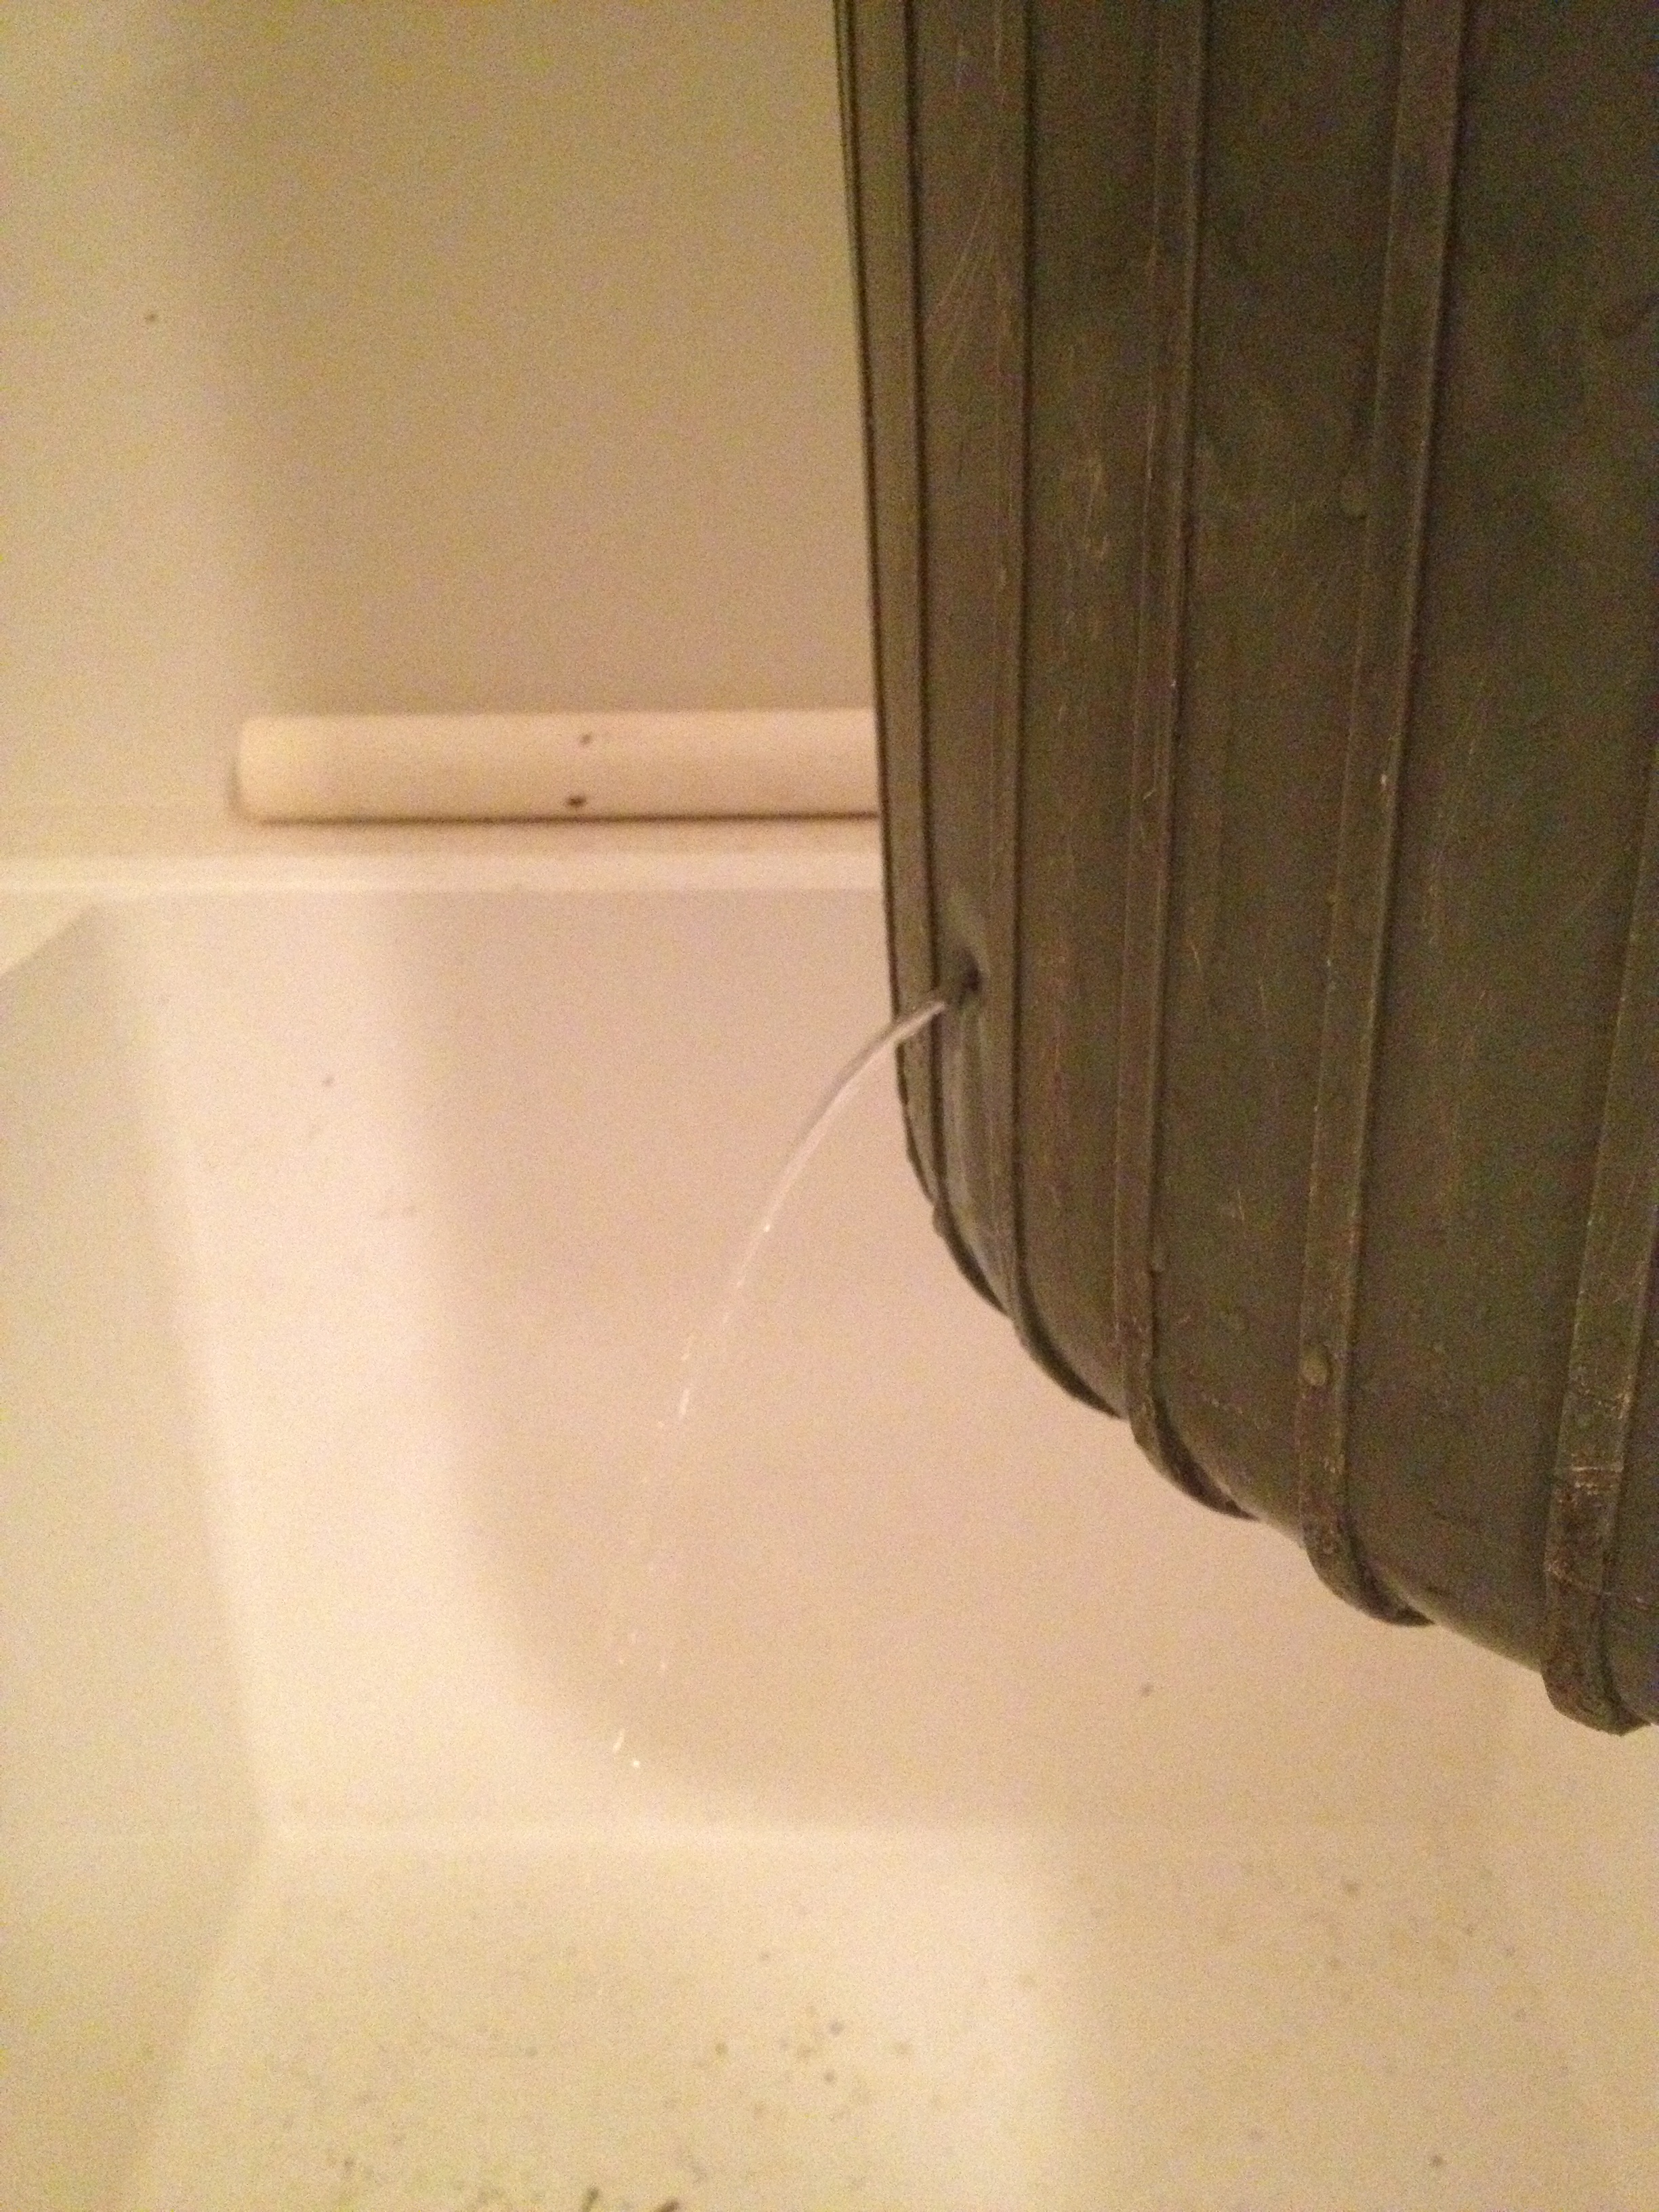
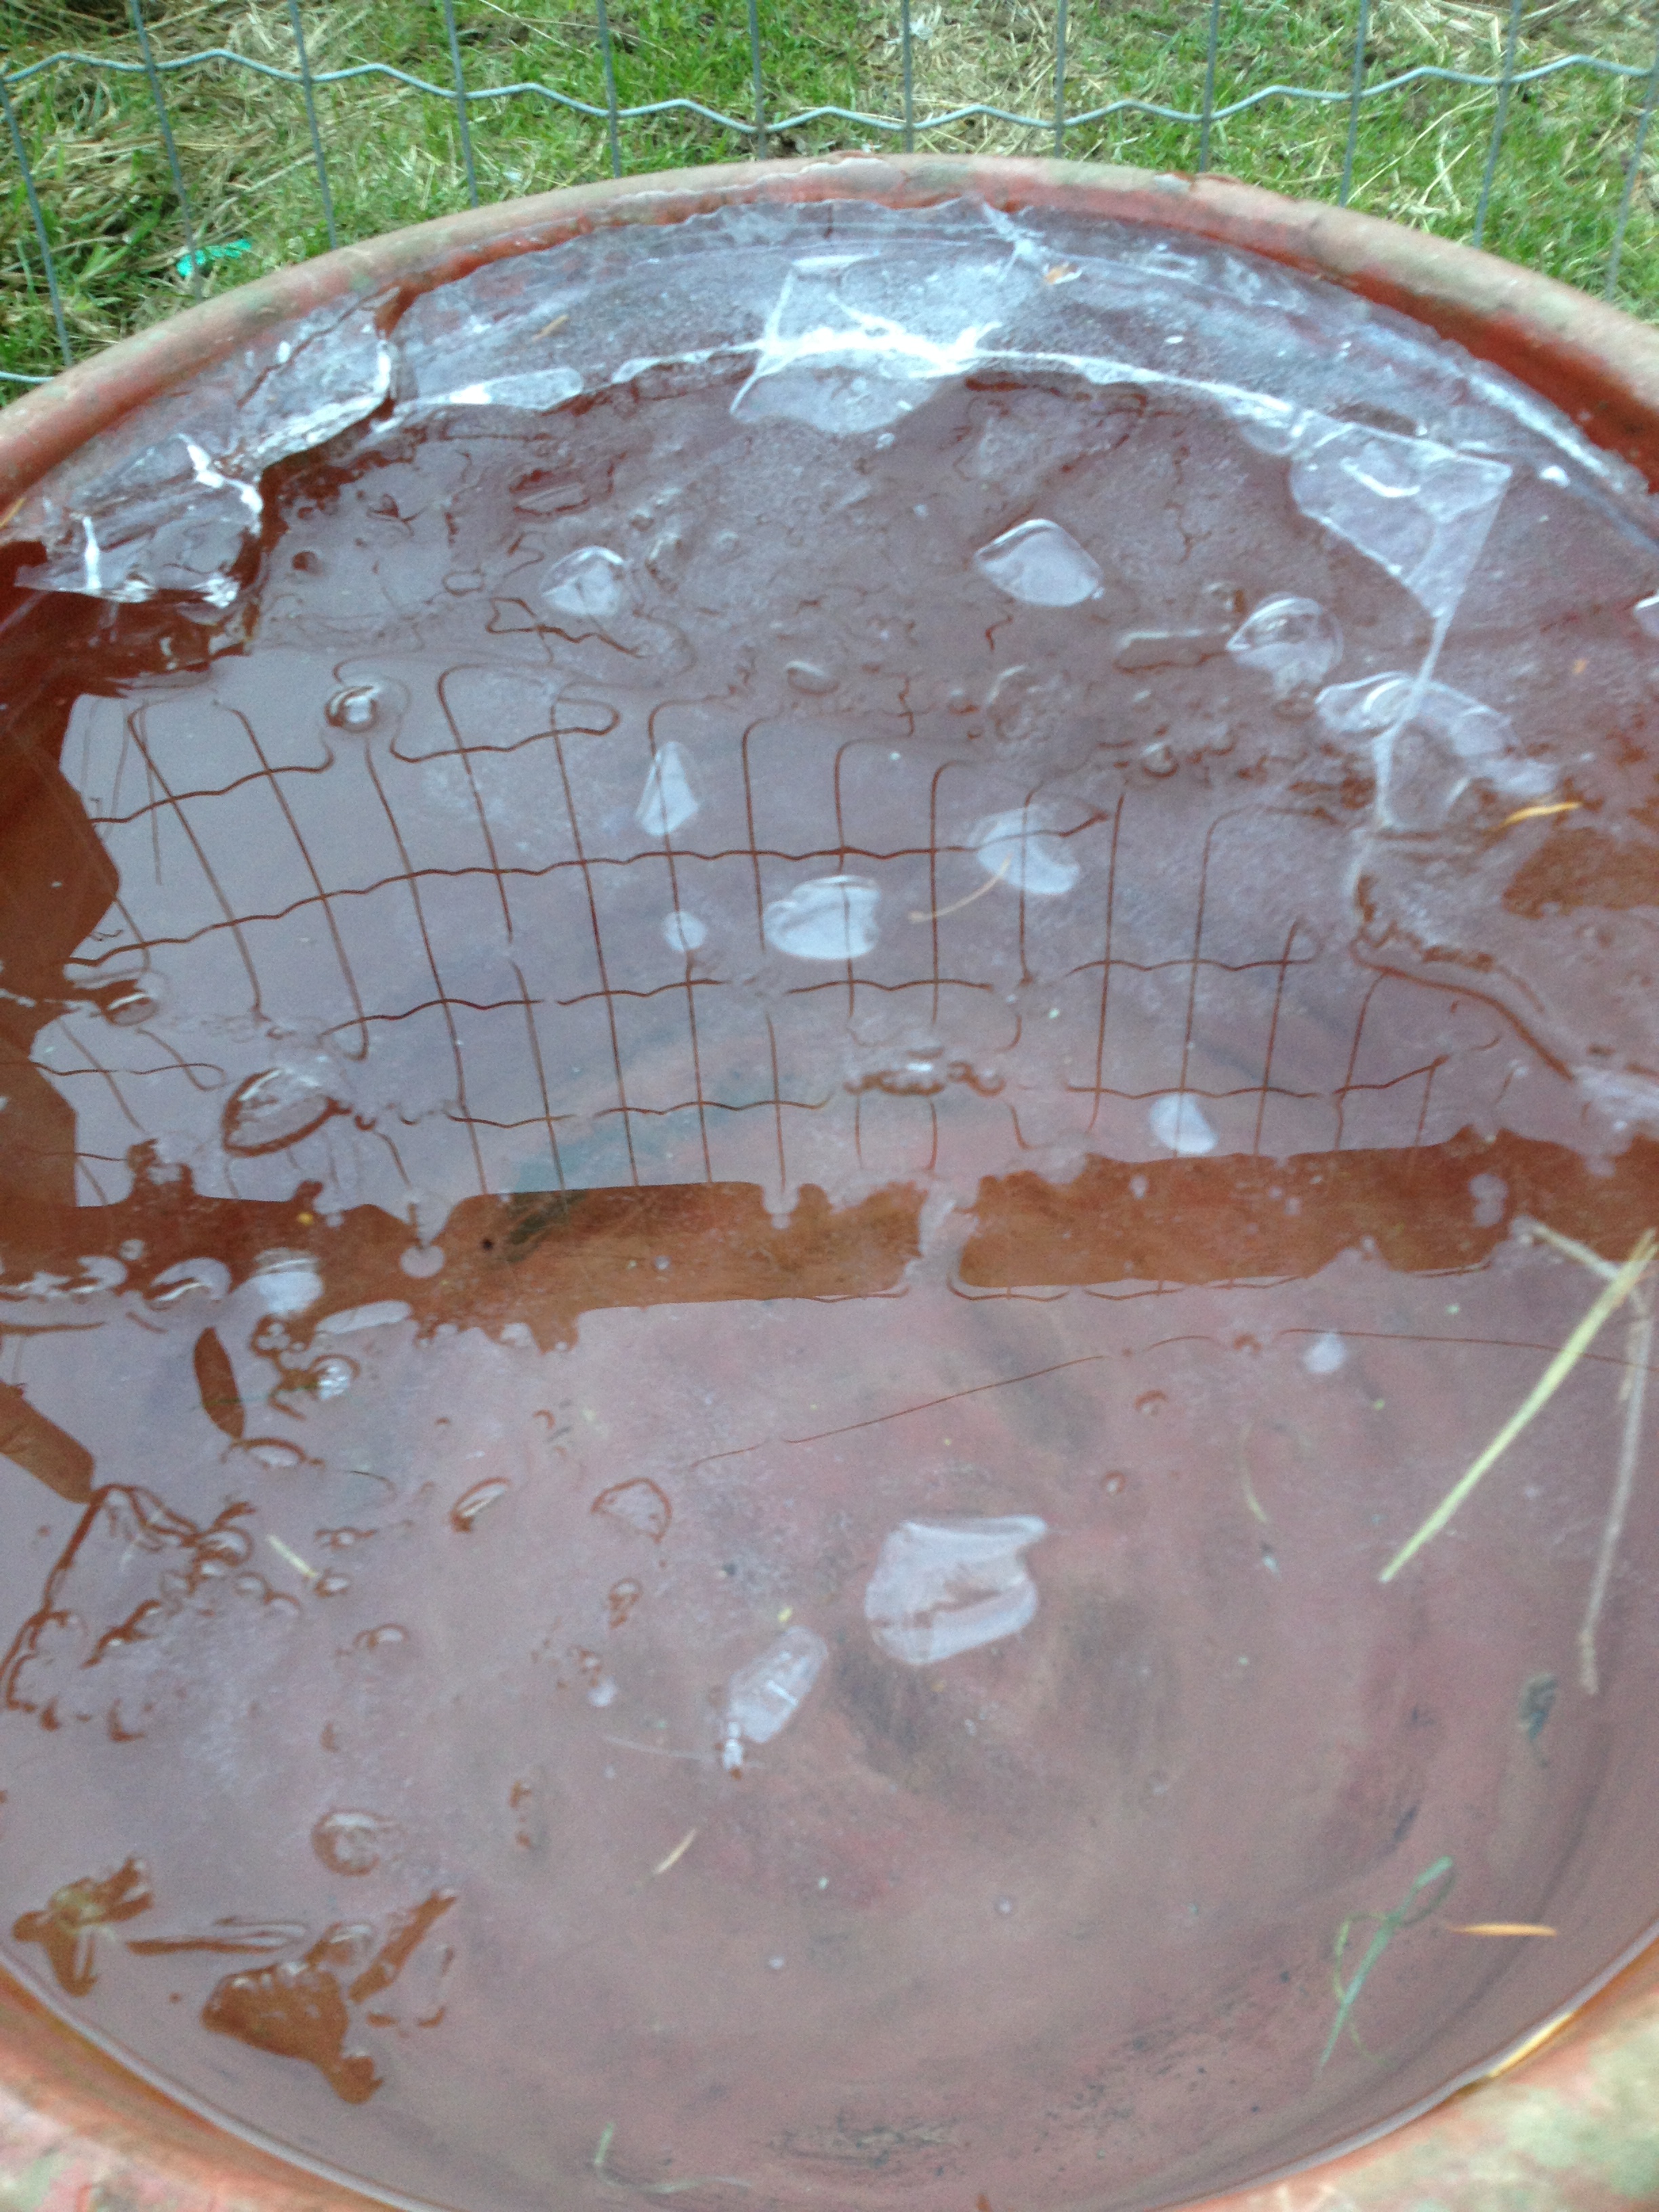
1. The sap when it first comes out of the tree is really watery – somehow I thought it was more like thick, sticky sap like the stuff that gets stuck in your hair if you climb pine trees on warm spring days. It’s more like water.

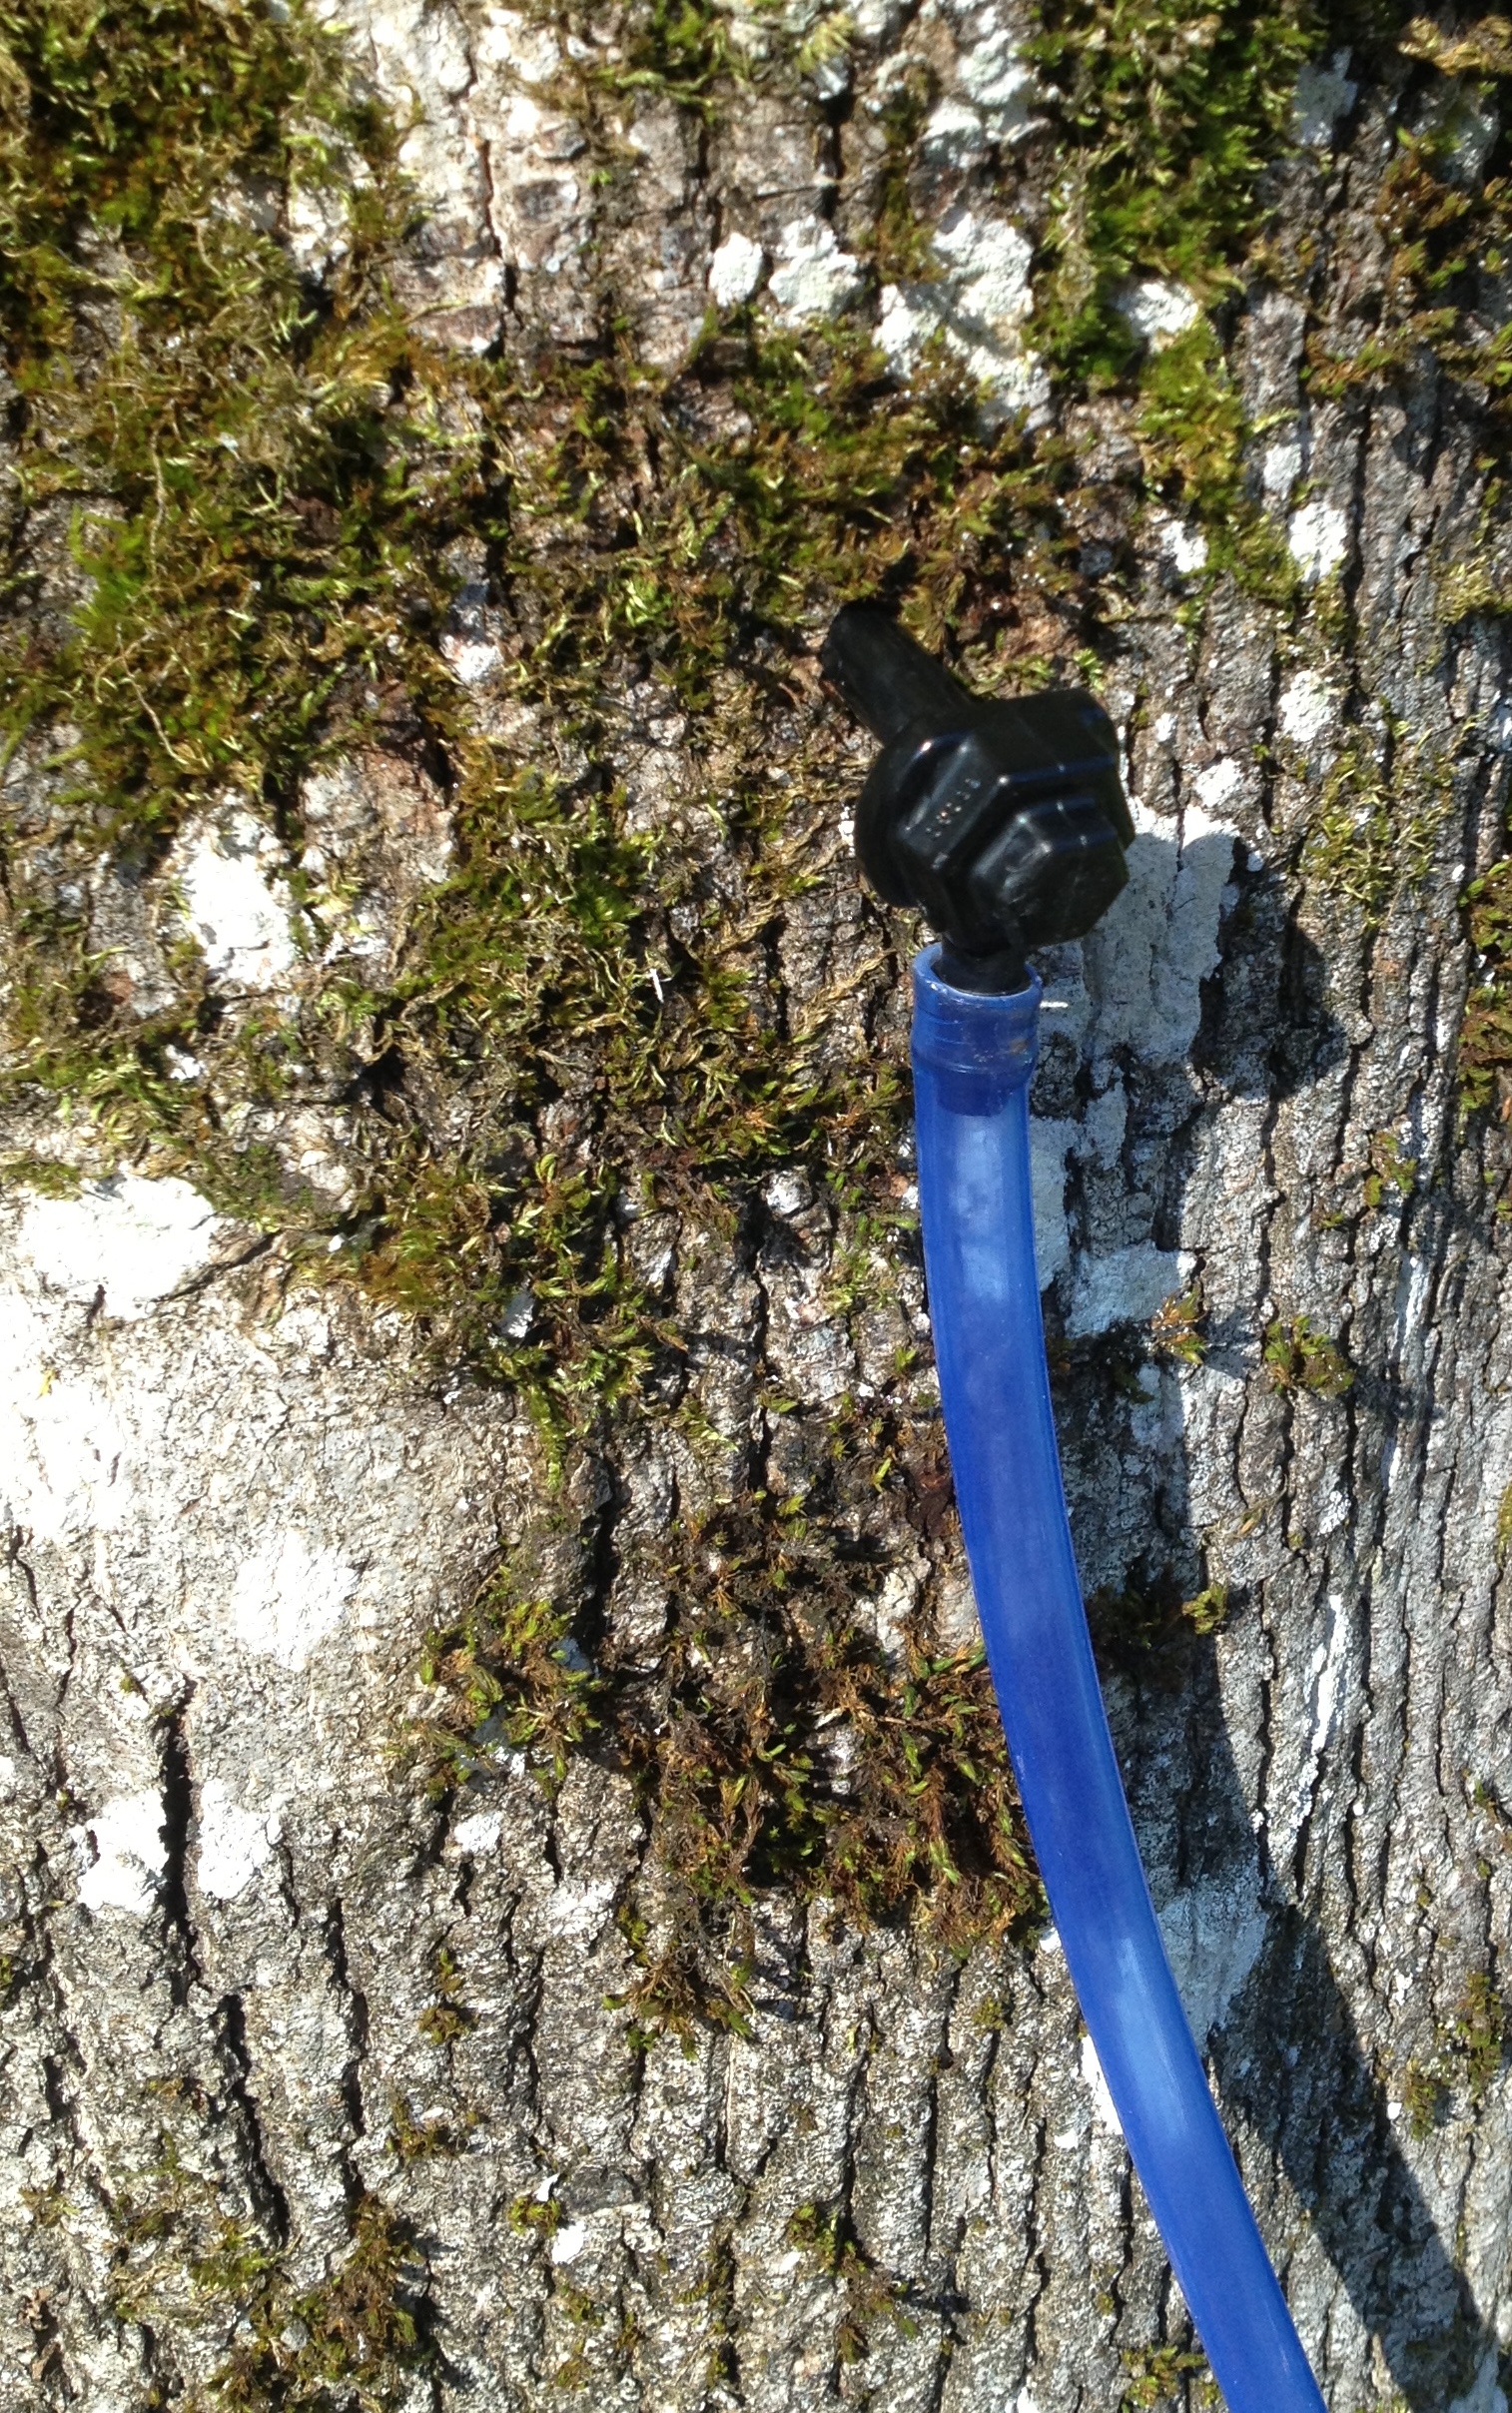
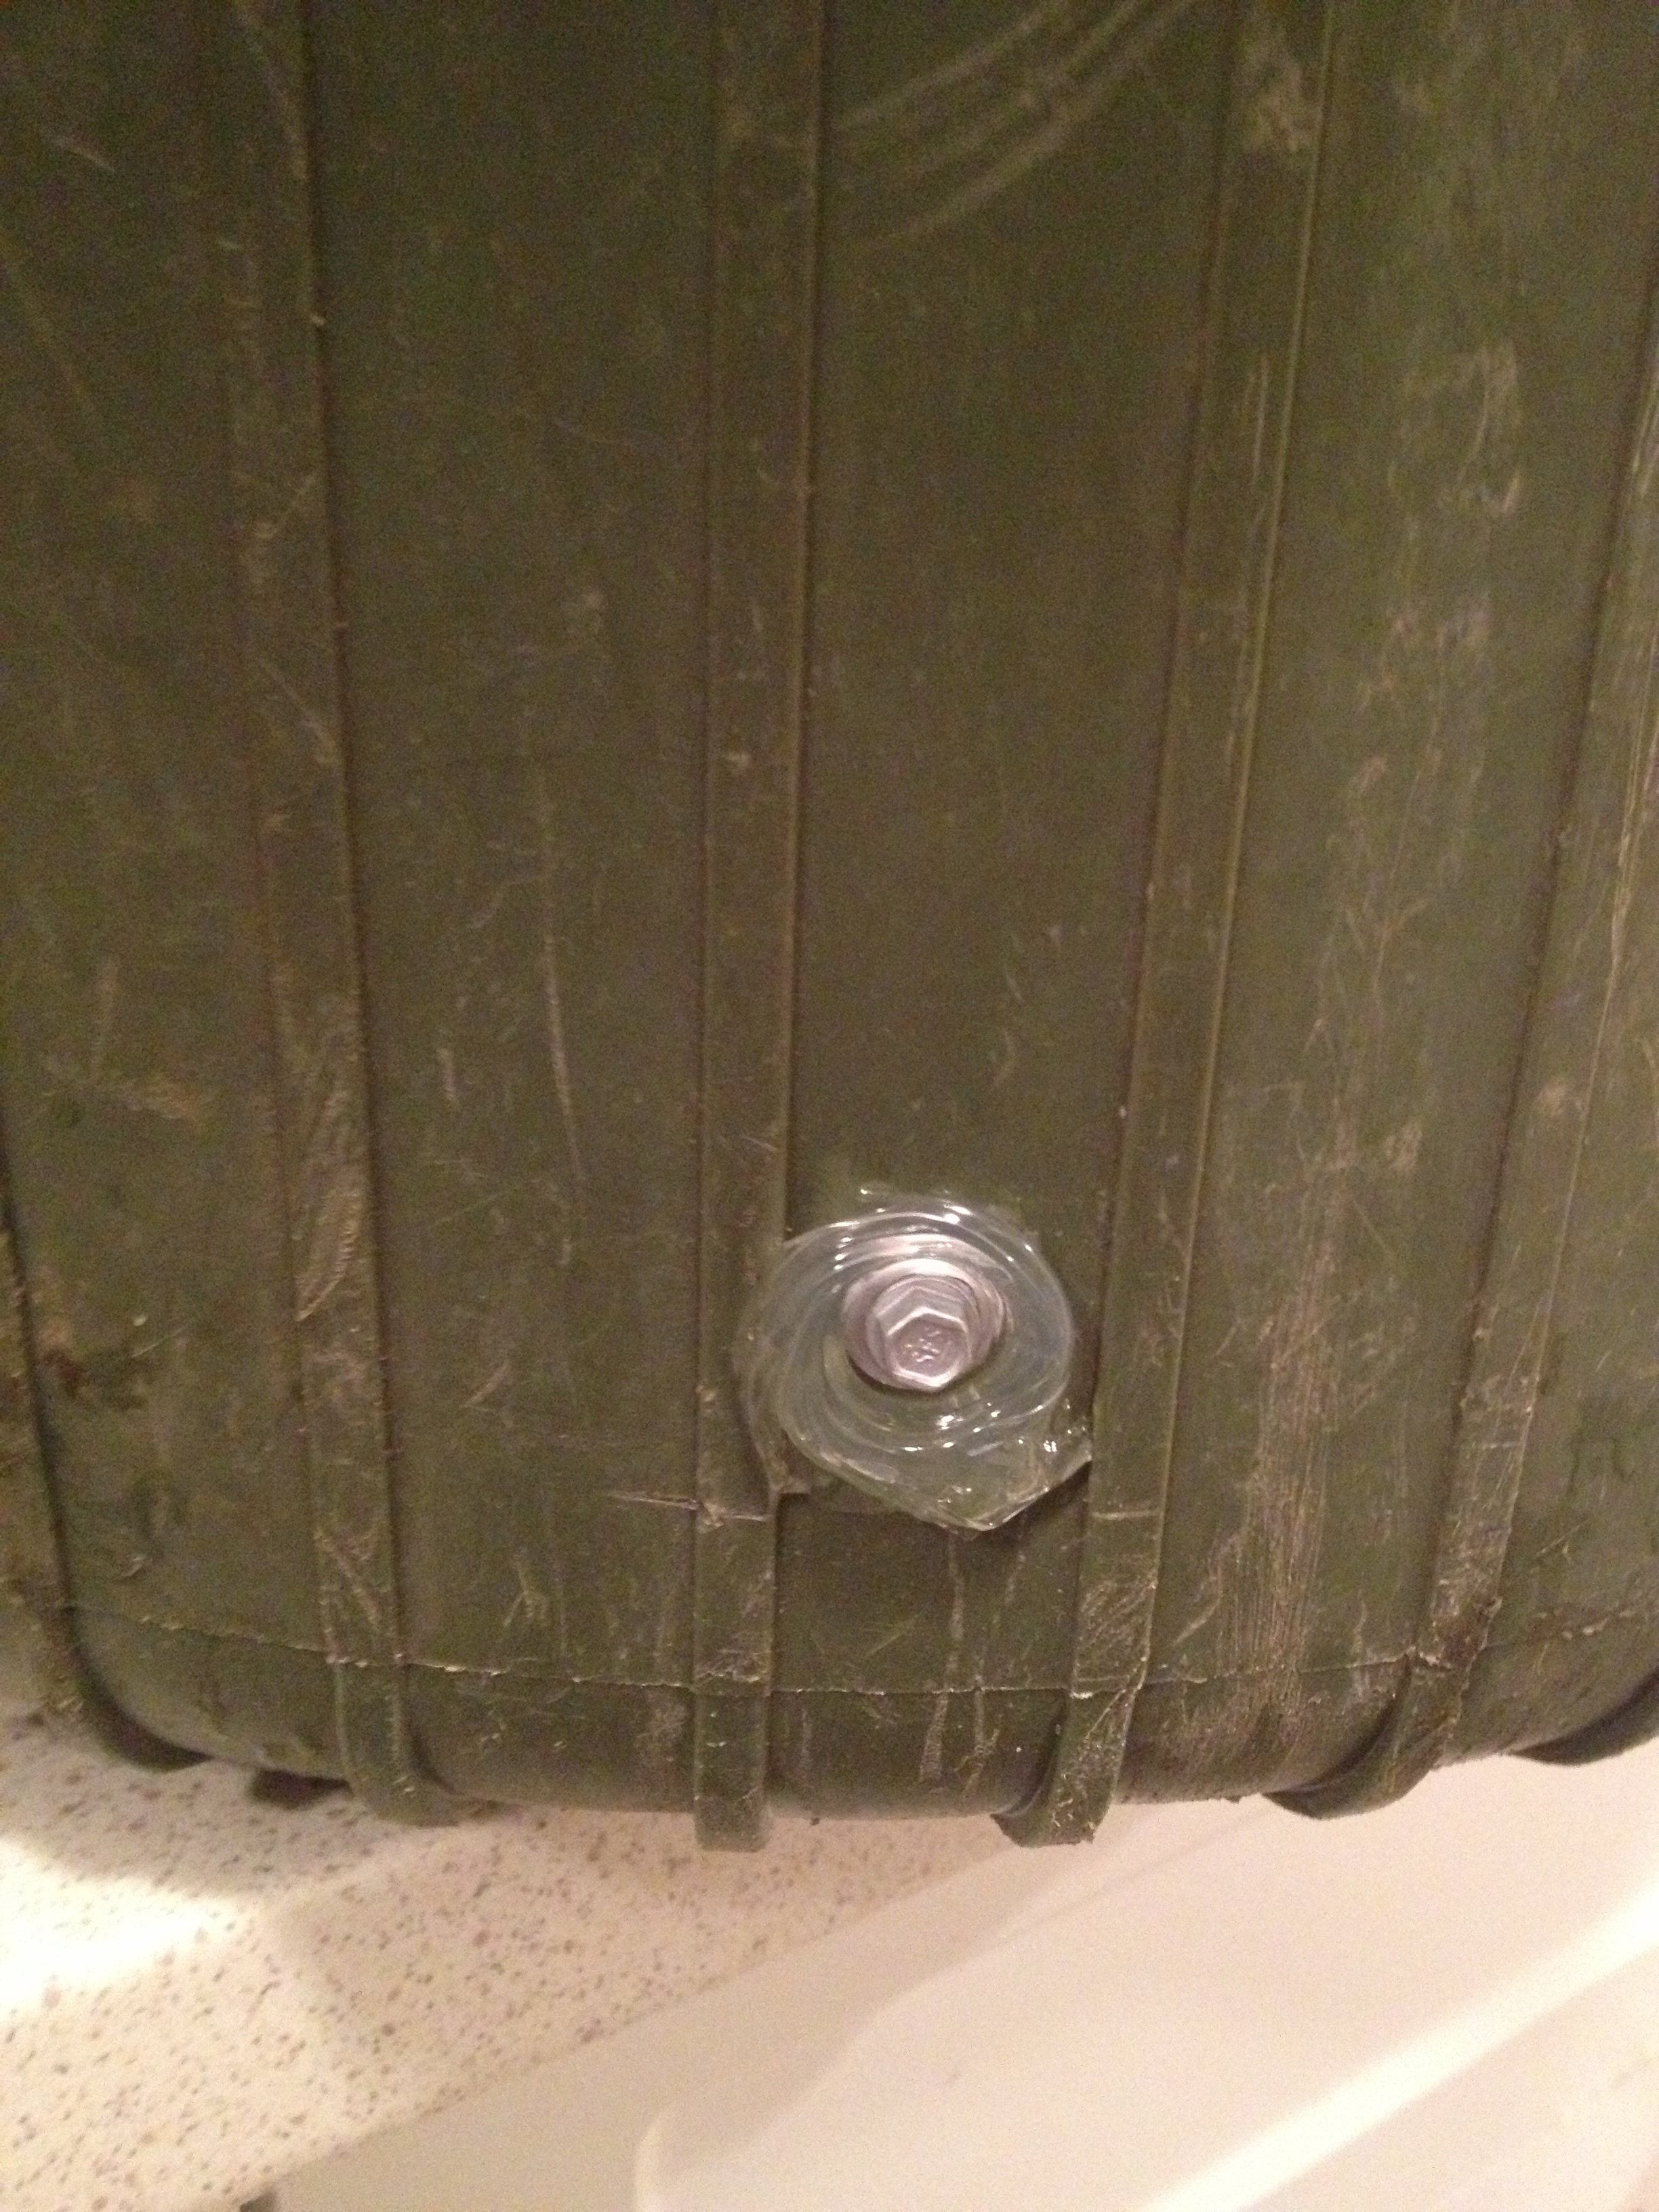
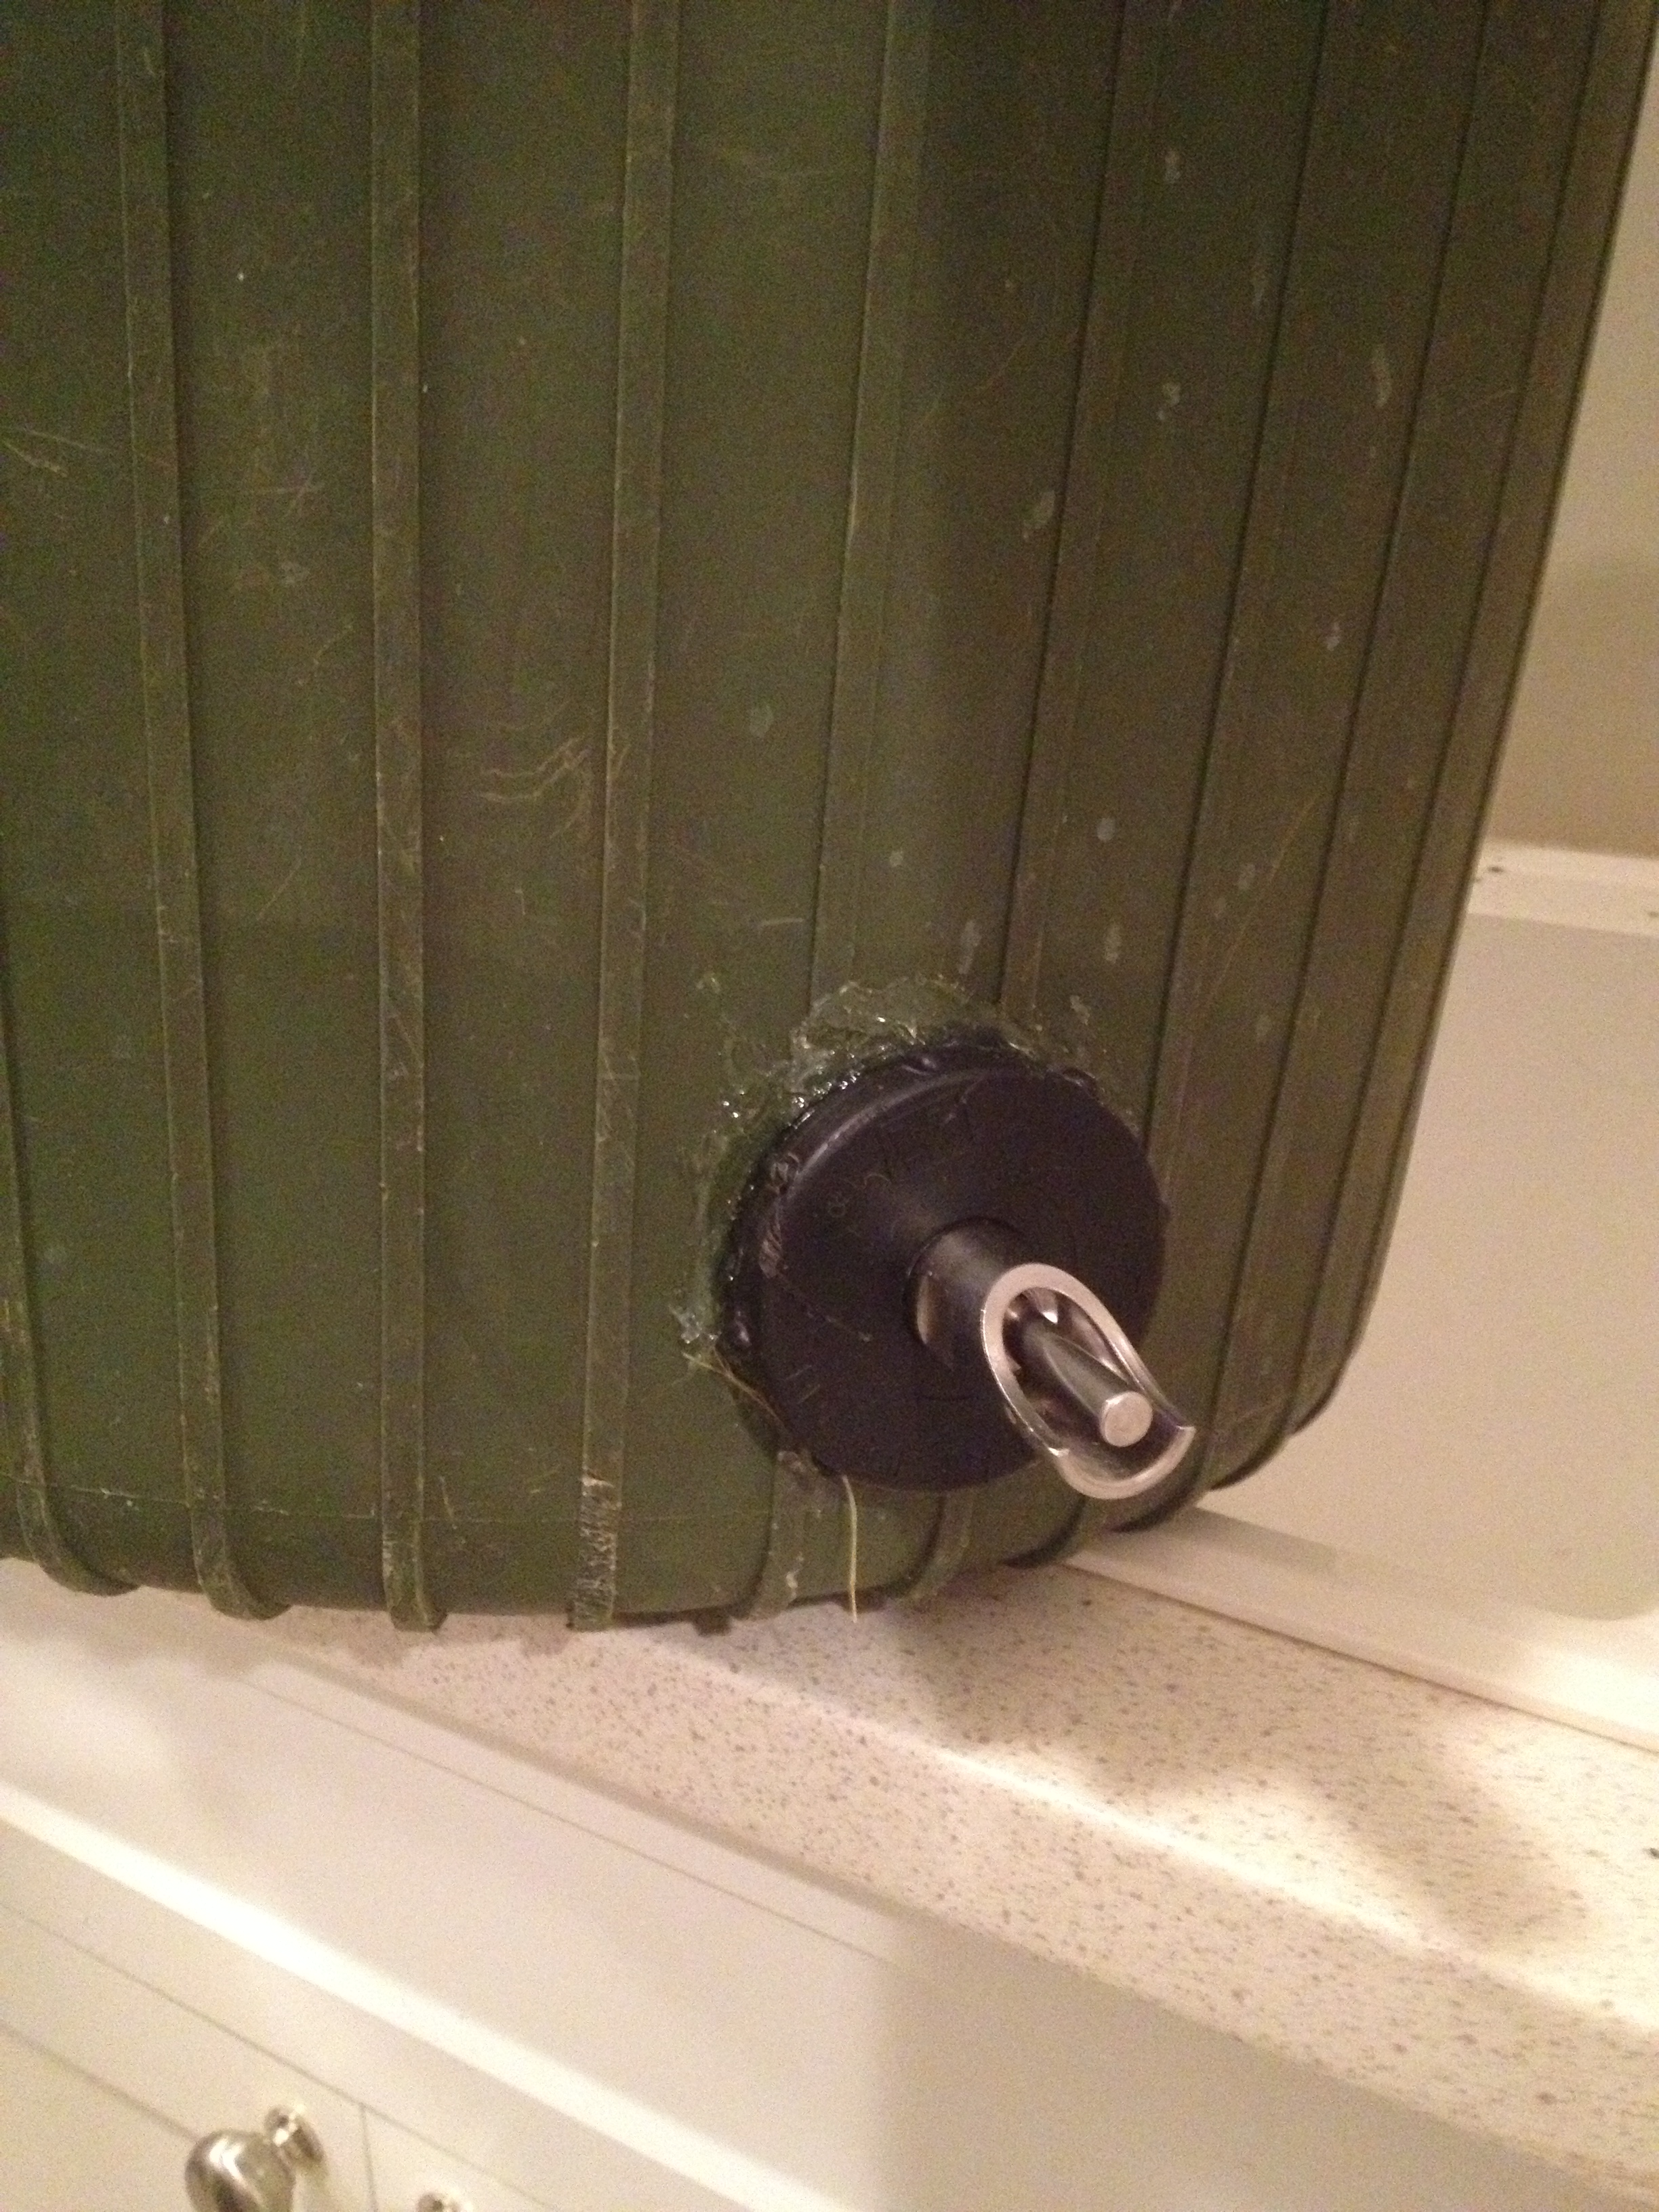
2. Sap doesn’t drip slowly and take forever to collect. If you hit a good vein (or whatever the appropriate term is…), it virtually gushes out of the tree. The little wine bladders we initially used were way too small and we’ve switched to 18 liter water jugs.

3. The flow varies widely from tree to tree, from day to day, and depending on time of day, temperature, and recent temperature fluctuations…

4. It takes about 40 liters of tree sap/water to make about 1 liter of syrup, which is why all that maple syrup making back east used to be done outdoors (that’s a whole lot of steam to fog up your windows). Boiling maple syrup is probably still done outdoors for that reason. We set up a hot plate on the deck for the first phase of boiling and only moved the pans inside as we got close to the end.

5. It takes FOREVER to boil off 39 liters of water.

6. It takes a nanosecond to go from boiling water to scorched syrup! At the end, the temperature rises very quickly as the percentage of sugar increases and it’s really easy to overshoot the mark, burn the syrup, and lose a whole batch! With four of us watching over the bubbling pots and alarms set on digital thermometers, we dodged this particular bullet, but I can see how easy it would be for everything to go terribly wrong.

7. Does it taste like maple syrup? Yep. Except with a stronger flavour – there’s a sort of woodsy undertone that is richer than the store bought pure maple syrup from back east. There is no comparison to regular pancake syrup made with corn syrup – that is very sweet, but has none of the complex flavour of this stuff!

8. Are we happy campers? Oh. Yes. Indeed.

9. Will we have any for sale? Maybe not this year – we started this whole tapping/boiling process a bit late in the season, but next year we’ll get started in November. Because we are on the west coast we can collect from November to early March, which gives us a whole lot of raw material to work with. This has been a great test, though – we’ll keep sugaring for the next couple of weeks and learn what we can and then next year we will start early and see how much we can produce.

Big Leaf Maple Sugaring!

Image

Because we don’t really have a lot to do around here, we’ve decided to see if we can squeeze a few drops of maple sugar from our big leaf maple trees! [Curious about tapping west coast maples? Here’s a good link with lots of information.)

Image

T. got all excited about the prospect of making our own syrup, so off he went to gather supplies – spiles, tubing, and wine bladders (from a local You Brew wine shop). 

Image

It was so easy to get holes drilled and everything set up I can’t believe that every maple tree in the area hasn’t been tapped! The ease of sap collection is likely to be offset by the lengthy process that lies ahead… The ratio of sap to syrup is about 40:1 so we have a lot of boiling ahead of us! Stay tuned… 


Best Use of Old Soup Cans!

I love the ingenuity and creativity shown by my farming neighbours down at the end of the road. Check out what they are busy doing with old soup cans!

Recycling at its best!

Recycling at its best!

Functional shingles that look great, too! What’s your favourite repurposing of something that’s usually tossed away? My favourite raw materials are pallets and binder twine, which can be rearranged into rudimentary animal shelters, sorting chutes and pens, gates, compost bins, ramps, and more. Actually, if I’m right, I believe this shed uses pallets for framing… I’ll have to go back down and have another look. 


NABLOPOMO – We should be doing more of this… mending, that is.

Dad recalls all kinds of slogans from the war and post-war years. "Make Do and Mend" was one of them.

Dad recalls all kinds of slogans from the war and post-war years. “Make Do and Mend” was one of them. [E. colin Williams]

Sometimes I think my life must seem incredibly boring to other people. I don’t actually know anybody else who obsesses quite so much over things like buckets of water! If you are fed up with the subject, move along!

The hog water troughs have long proved to be a challenge – the pigs love to dump them over, climb into them, fill their mouths with dirt and then rinse and spit into them…

The ducks are the only creatures who are perhaps even worse at fouling (fowling?) containers of water. They blow their beaks under water to clear out the mud and sludge they accumulate while sifting through sludge looking for… whatever they are looking for. Anyway, between that delightful habit, their incessant splashing and dunking, and the liberal amounts of poop they deposit while they are busy floating around in places they don’t belong, they make a mess of the hog water quicker than you can say, “[Duck] Bottoms Up!”

With all that in mind, I decided to try a new watering system for the hogs. Inspired by a similar set-up over at my neighbour’s place, I bought a hog nipple and a couple of threaded bits so I could convert a garbage can into a covered watering system.

Dad and I set about installing what appeared to be a pretty simple set-up. We wrapped all the relevant threads in plumber’s tape, drilled a big hole in the side of the plastic garbage can, and then proceeded to fasten all the bits together. We screwed the hog nipple into Part A, put Part A a on the outside of the garbage can and then threaded Part B onto Part A, but inside the garbage can, sandwiching the wall of the can between the two parts. Sounds ludicrously complicated but was actually very simple.

Hog nipple screwed into Part A. If only I'd paid more attention at the farm supply store as to what Part A was actually called... Threaded collar into which a hog nipple is inserted...

Hog nipple screwed into Part A. If only I’d paid more attention at the farm supply store as to what Part A was actually called… Threaded collar into which a hog nipple is inserted… The red ring is the outside cover of the roll of plumber’s tape.

We put some water in the garbage can so it just covered the new hog nipple installation and went and had dinner.

Testing the seal...

Testing the seal…

When we returned to check on the water level, it had dropped to just below the ring. We figured we didn’t have a good enough seal, perhaps due to the ridges on the garbage can, so we dug out our our handy dandy Roof Patch stuff and applied it liberally.

Roof Patch goop - can be applied wet - guaranteed to stop leaks. We also added more plumber's tape for good measure.

Roof Patch goop – can be applied wet – guaranteed to stop leaks. We also added more plumber’s tape for good measure.

Roof Patch goop

We repeated the water test and… noticed that the water level was dropping even more rapidly. Not only that, there was the distinctive sound of water dribbling… A closer inspection revealed that the problem had nothing to do with the nipple installation but everything to do with a nail-sized puncture wound on the back side of the garbage can!

How did we miss this hole the first time around?

How did we miss this hole the first time around?

At this point in the proceedings Dad had a nostalgia attack.

“”What we need here are pot menders.”

This elicited a blank look from me. Pot menders? Who mends pots, anyway? Apparently, during and after WWII, all of England was told to mend their pots by none other than the Queen.This was done using something called pot menders. The following image showed up in my email inbox at 2am that night as Dad thought he was losing his mind and remembering something that never existed.

Photo by ijbison on Flickr

Sure enough, these double washer-type doohickeys were fastened together on either side of the hole in the kettle or pot, fixing the broken item. It occurred to me that these days if my kettle stops working I run out and buy a new one and toss the old one in the trash bin. I don’t think you could buy anything like this any more, except maybe on E-bay and besides, I don’t think plastic would respond well to this treatment.

Needless to say, our supply of pot menders was non existent, so we cast our minds around to see if we could find another solution. Duct tape? Pond liner patches glued to the inside of the can with Roof Patch goop? Some sort of rubbery plug?

In a flash of inspiration Dad thought of roofing screws which are backed with a built-in rubber washer. We found one, slathered it with Roof Patch goop, and screwed it (gently) into the hole.Roofing screw to the rescue!Roofing screw to the rescue!Our improvised version of a pot mender in position. Our improvised version of a pot mender in position.

Ta da! Hog nipple installed!

Ta da! Hog nipple installed!

The final step was to add water and wait. The can sat overnight and we lost nary a drop of water!

The next big hurdle is installing it in the hog paddock in such a way that the hogs can’t tip it over. Stay tuned… because, yes, there is yet more to come on the subject of water containers…

NABLOPOMO – Anti-freezing Water Experiment

A duck's eye view of a pond freezing over...

A duck’s eye view of a pond freezing over…

During the recent cold snap, I was having my usual problems keeping all the animals watered. There are two main issues to deal with. First, all the water on our long, skinny farm-let originates at the top of the hill at the house. Miles of hoses with various junctions and side shoots and connectors and whatnot distribute water from the tap at the top to animal and poultry pens all the way down to the bottom of the hill. It is not practical to coil up all those hoses and drag them inside each night. Leaving them dripping works as long as the temperature doesn’t dip too low, though it does waste water and results in nasty little ice patches all over the place. The other problem is that the hoses zig and zag, go up and over obstacles and around corners and without fail, those bends and kinks are where ice blocks form, shutting down the system downstream from the blockage.

After I win the lottery (or, maybe I should try one of those crowd funding projects) I will install a frost-free in-ground water system with frost free taps all over the place… But until then, when the hoses freeze I am stuck schlepping hot water in containers from the house.

A five gallon jug of water weighs over 40 lbs. I shudder to think how many pounds I lifted during the past week!

A five gallon jug of water weighs over 40 lbs. I shudder to think how many pounds I lifted during the past week!

The water needs to be hot because the second problem that develops is the water in the various buckets and tubs freezes. When it isn’t seriously cold, it isn’t hard to smash through the layer of ice on top to get to open water below. When it stays cold for several days or when the temperatures plunge, the layer of ice is too thick to break.

This problem of the top layer freezing was addressed in the current issue of Small Farm Canada (with thanks to regular reader, blogger, and fellow farmer, Sailors Small Farm for pointing this out…). In a short how-to article it was suggested that a piece of closed cell foam insulation cut to fit inside the bucket would keep the water from freezing. The example shown was for a small pail being used  by chickens. Holes large enough for the chickens to dip their beaks in had been cut in the foam so the birds could get at the un-frozen water.

As it turned out I had some of this stuff around and thought it might work to stop the goat water container from freezing over.

A thin layer of ice just starting to form on the surface of the goat water bucket.

A thin layer of ice just starting to form on the surface of the goat water bucket.

First I roughly measured the foam – and cut it to size.

Roughly measuring the size of 'lid' needed.

Roughly measuring the size of ‘lid’ needed.

I cut a small opening on one side so they could get their muzzles in to drink.

The small opening was just big enough for thirsty goat lips...

The small opening was just big enough for thirsty goat lips…

Then, I waited to see what would happen. The goats drank out of the gap just fine and immediately under the foam lid the water did not freeze. But, all around the edges, ice formed the first night. The ice layer grew thicker and it became increasingly difficult to peel off the layer of foam each morning so the goats could get at the ever-smaller water hole in the middle. By the fourth day, the foam was completely frozen into the surface and disintegrated when I tried to peel it back.The opening was the first part to freeze, which wasn't too surprising...The opening was the first part to freeze, which wasn’t too surprising…After a few days of being able to peel back the foam, it froze to the surface and came apart when I tried to lift it...After a few days of being able to peel back the foam, it froze to the surface and came apart when I tried to lift it…It was impossible to remove the last shred of insulation... I went back to the old system of pouring piping hot water into the bucket to thaw a hole and warm up the rest of the water enough that the goats would have a good, long drink. It was impossible to remove the last shred of insulation… I went back to the old system of pouring piping hot water into the bucket to thaw a hole and warm up the rest of the water enough that the goats would have a good, long drink.

The article suggests that the system is most useful inside a hen house where the temperature is right around freezing but not seriously cold. I’d have to say that when this is the case it really isn’t that big a deal to chip a hole in the skim of ice anyway. Alas, much as I had hoped this would be a great solution to my bucket-freezing problems, it seems I will have to keep looking for other methods and keep experimenting.